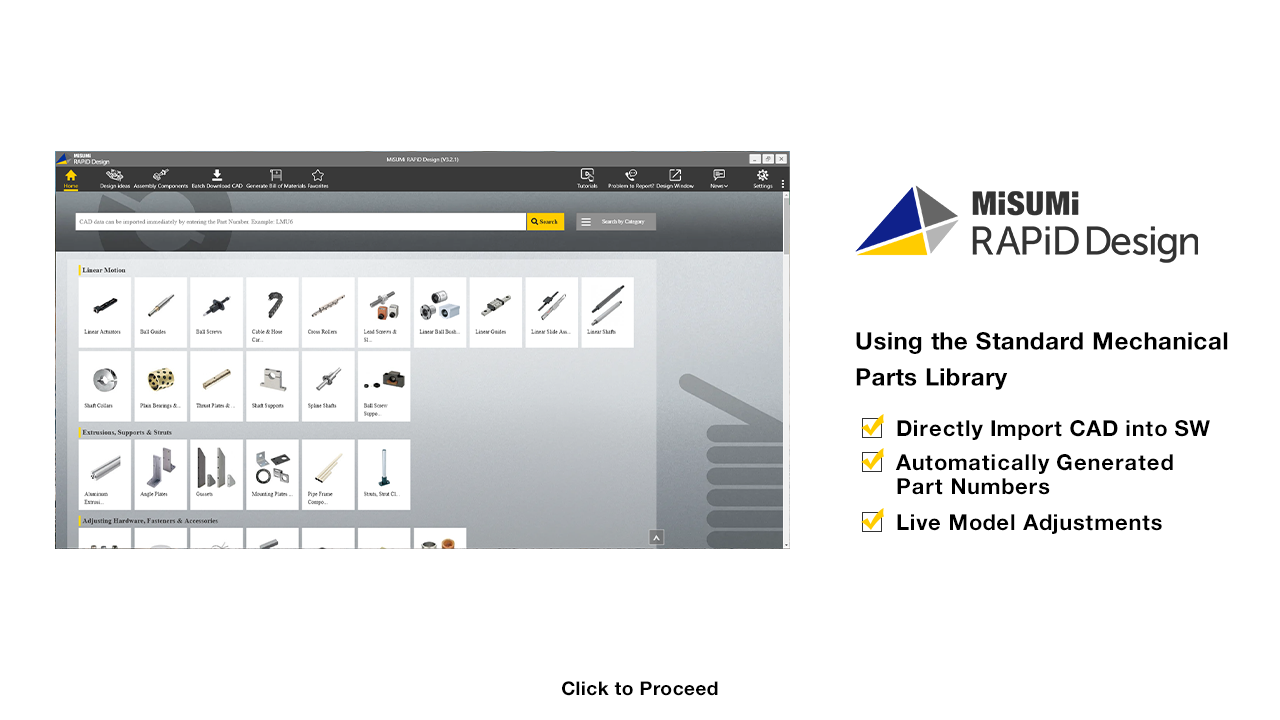

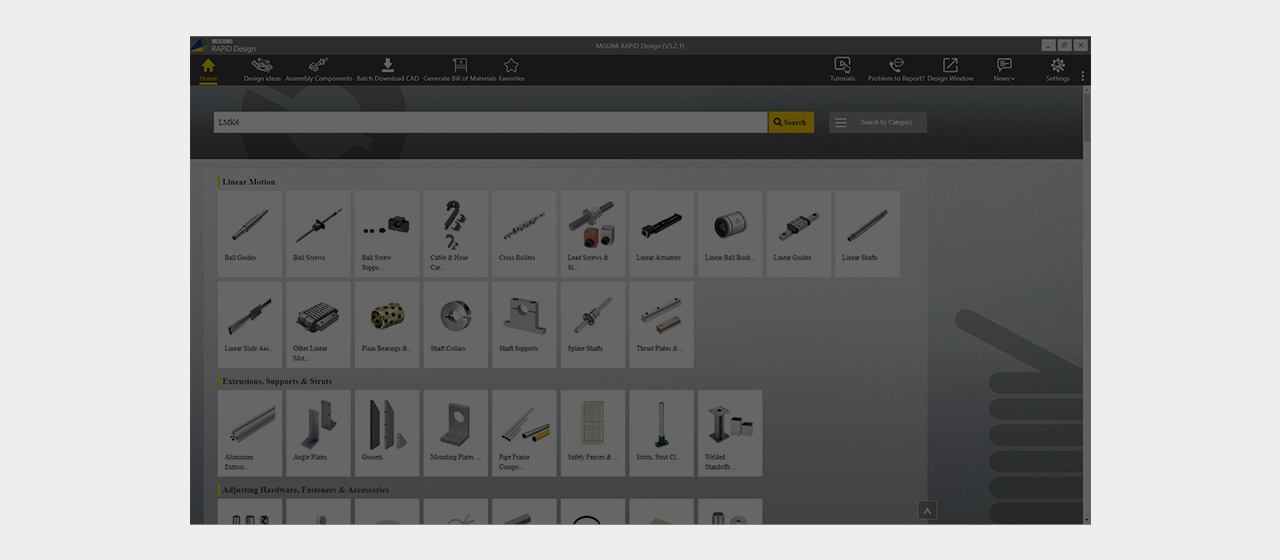
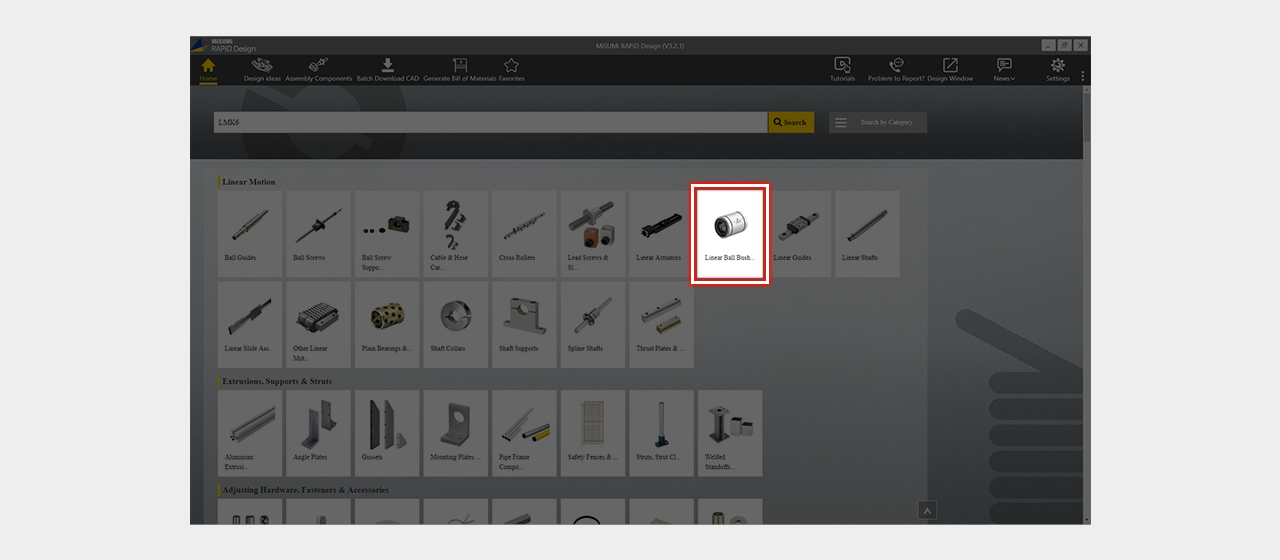
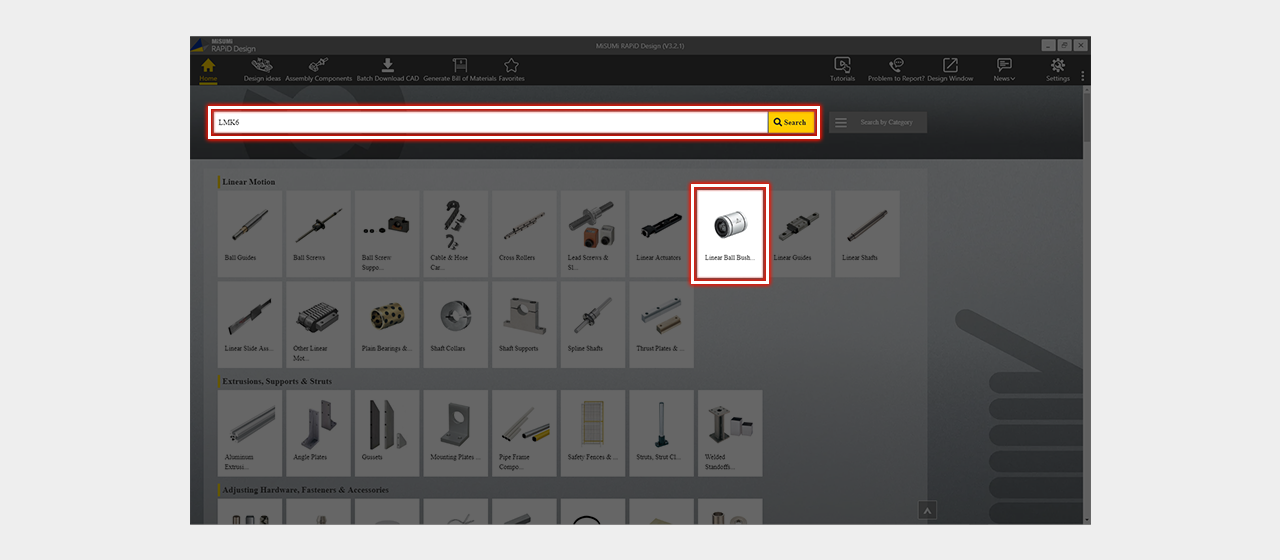
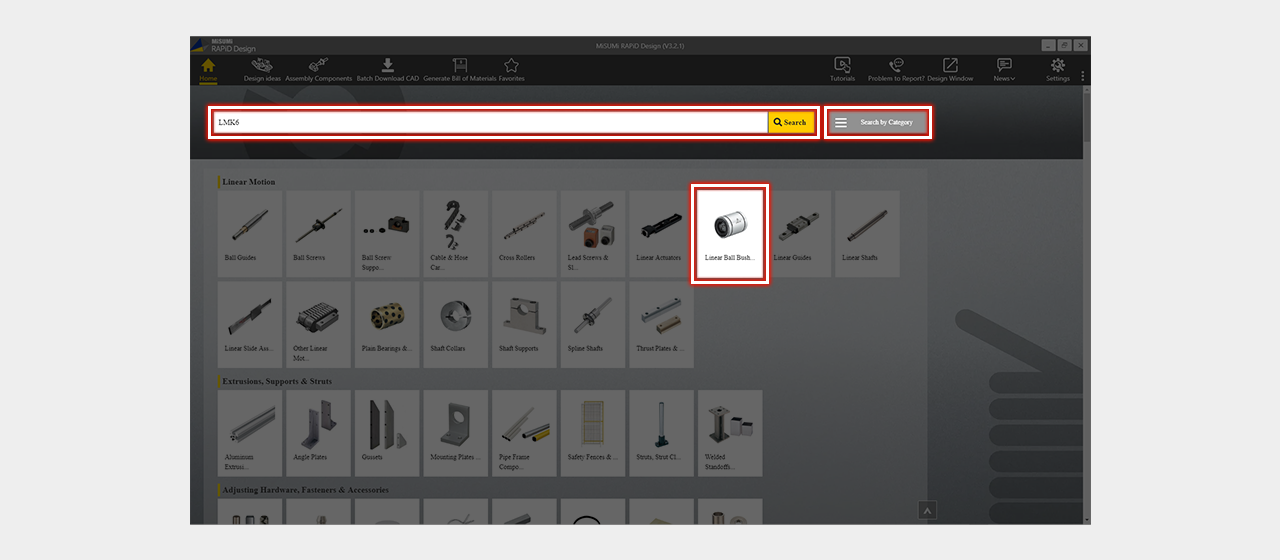
First, select the product you want from the search screen, there are 3 ways to choose


Click

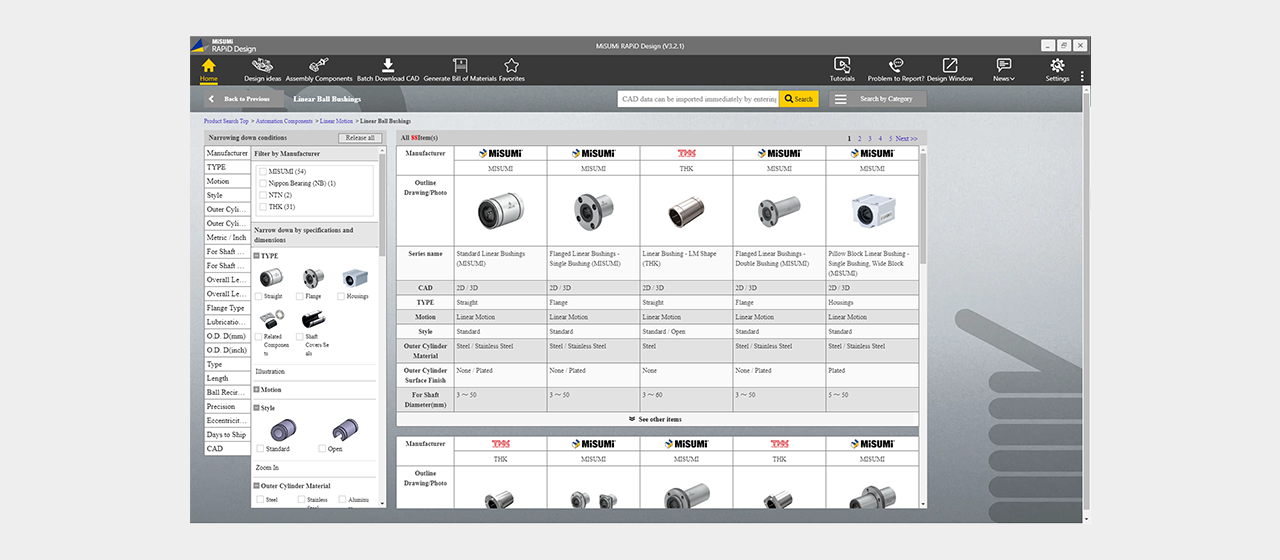
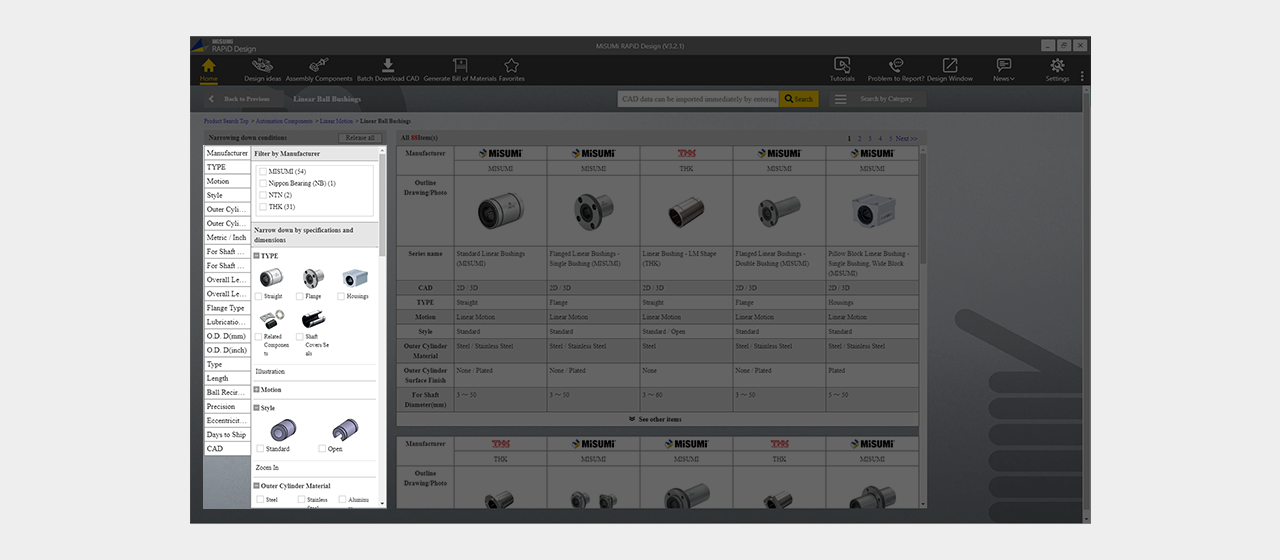
Narrow down your options be selecting specifications and a manufacturer
Click
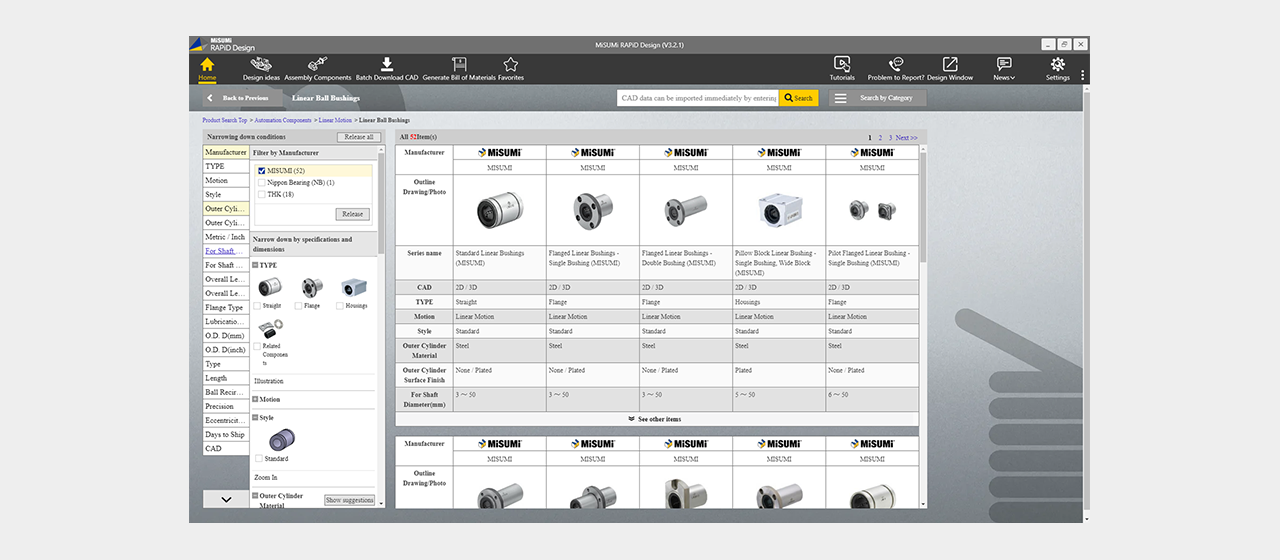
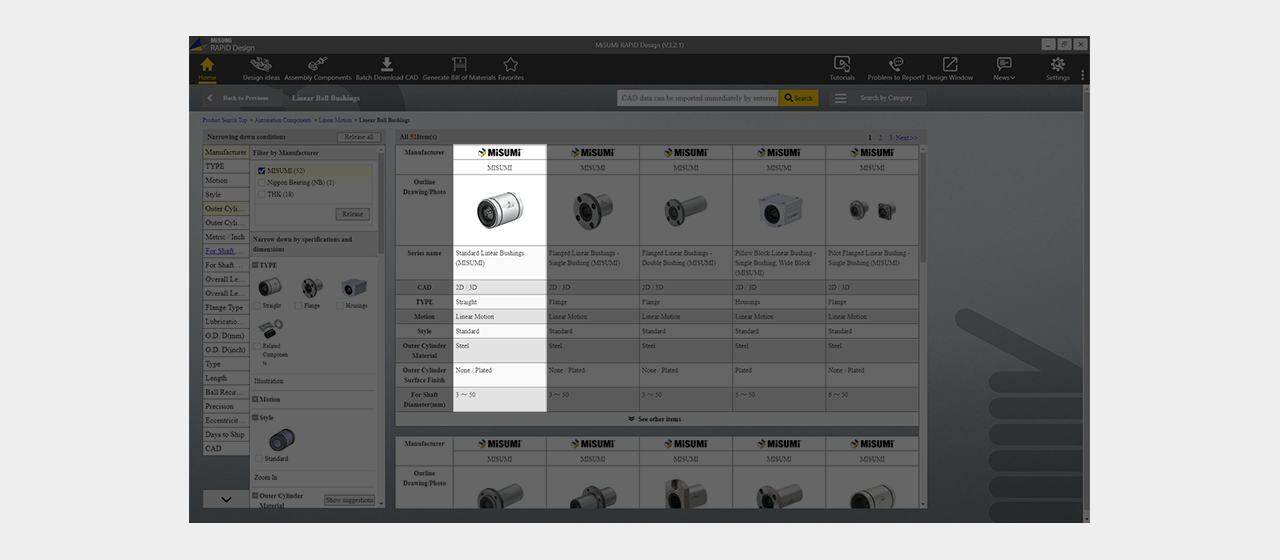
Select various products by filtering them first-- start by selecting Misumi products
Click
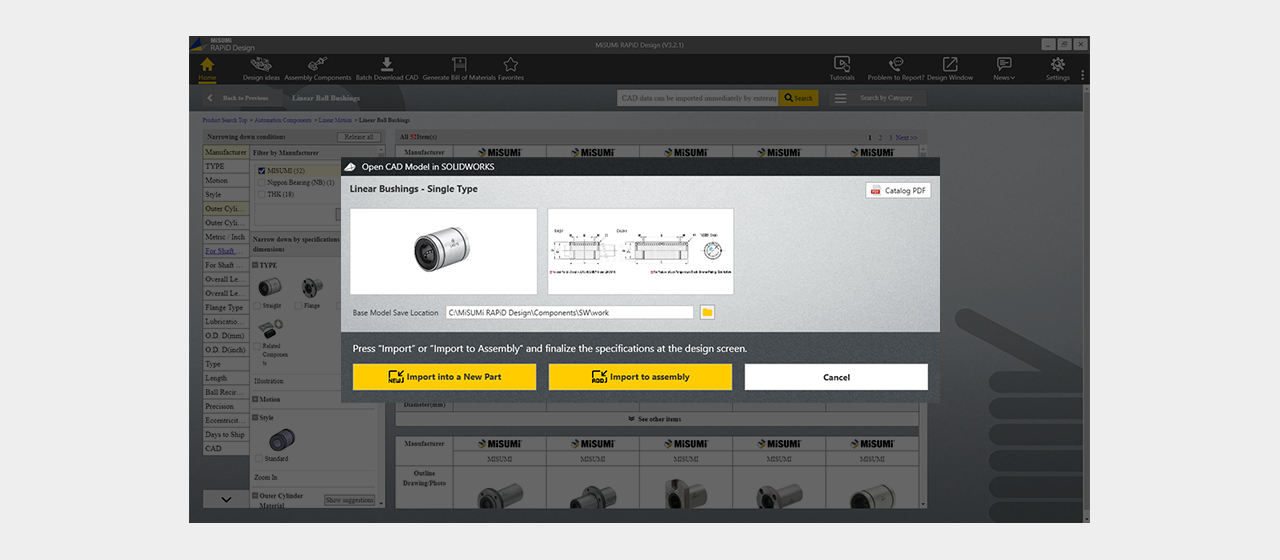
First, click "Import as Part"
Click
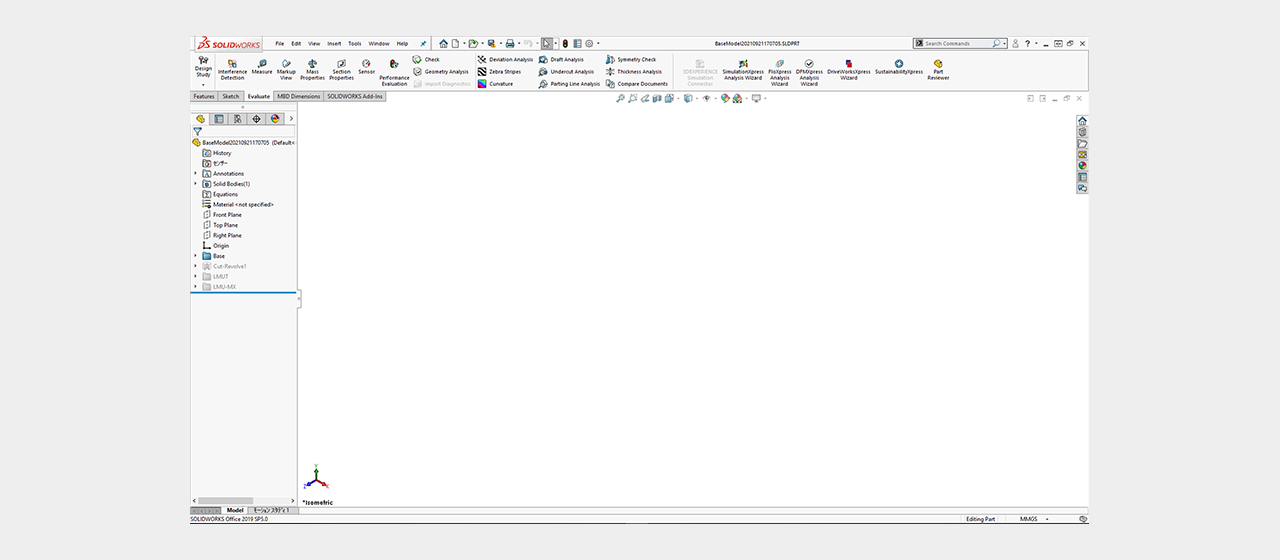
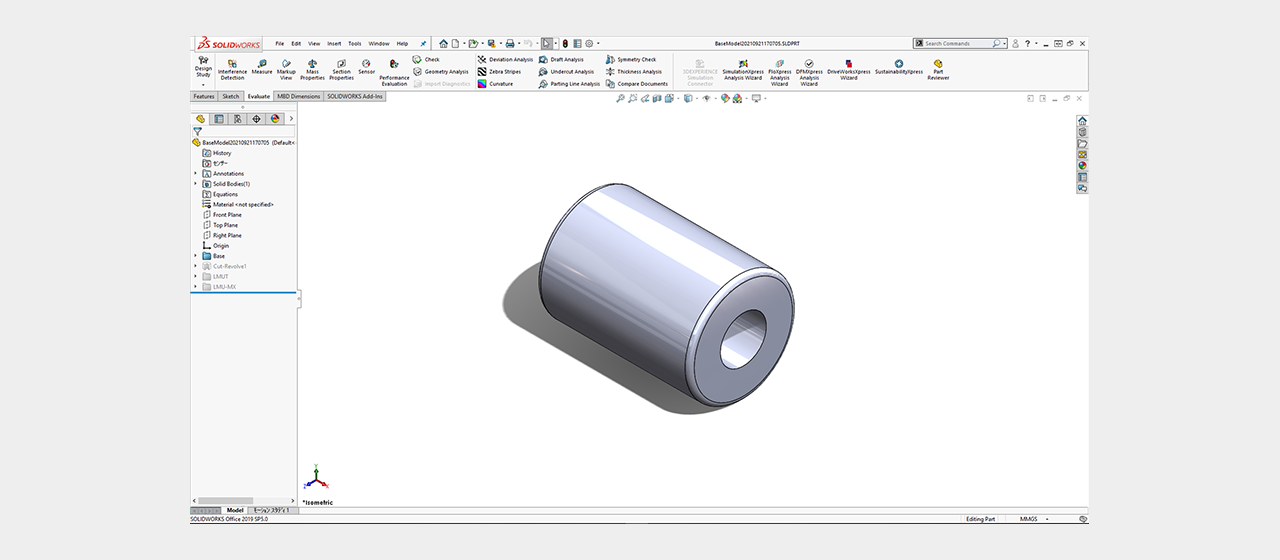
[Point] A base model of the part will be imported into SOLIDWORKS


Click
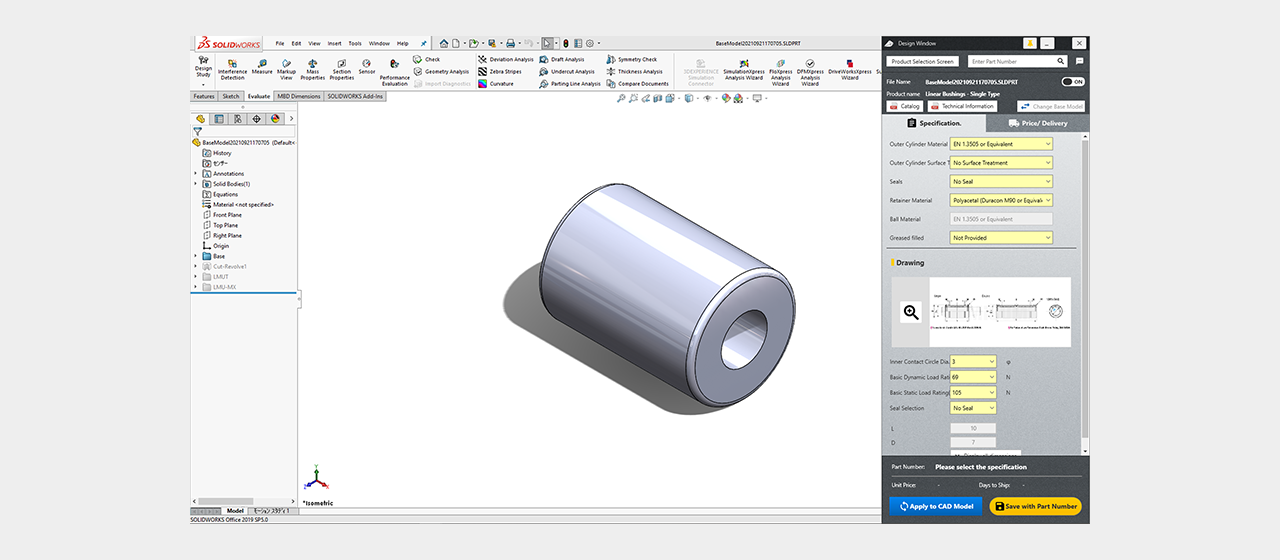
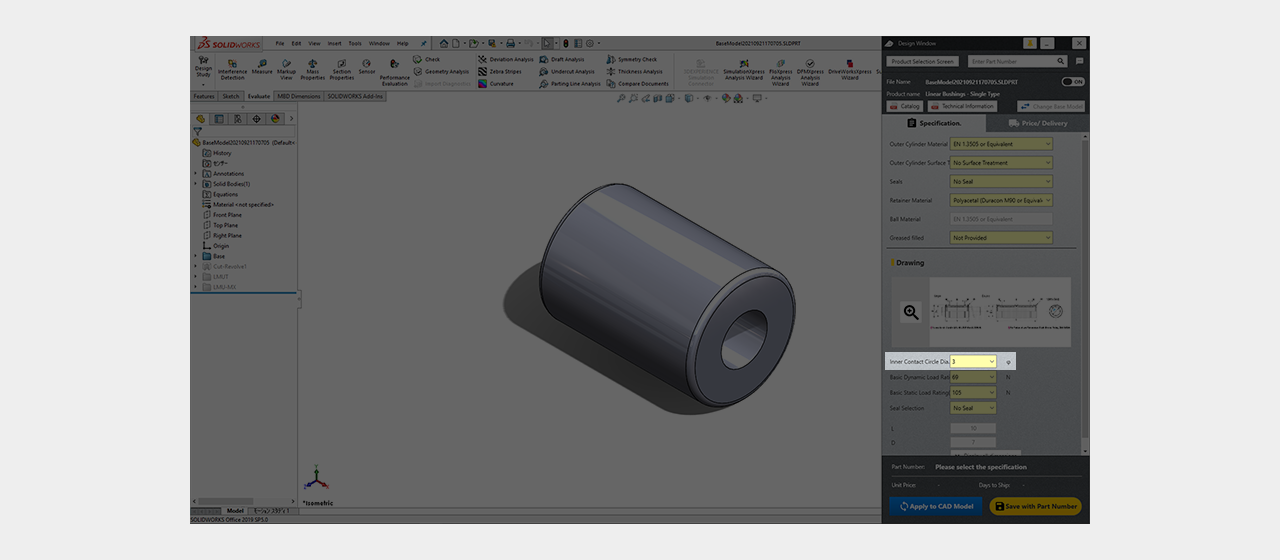
Select the spec you are interested in on the design screen
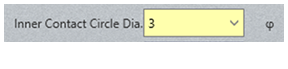
Click
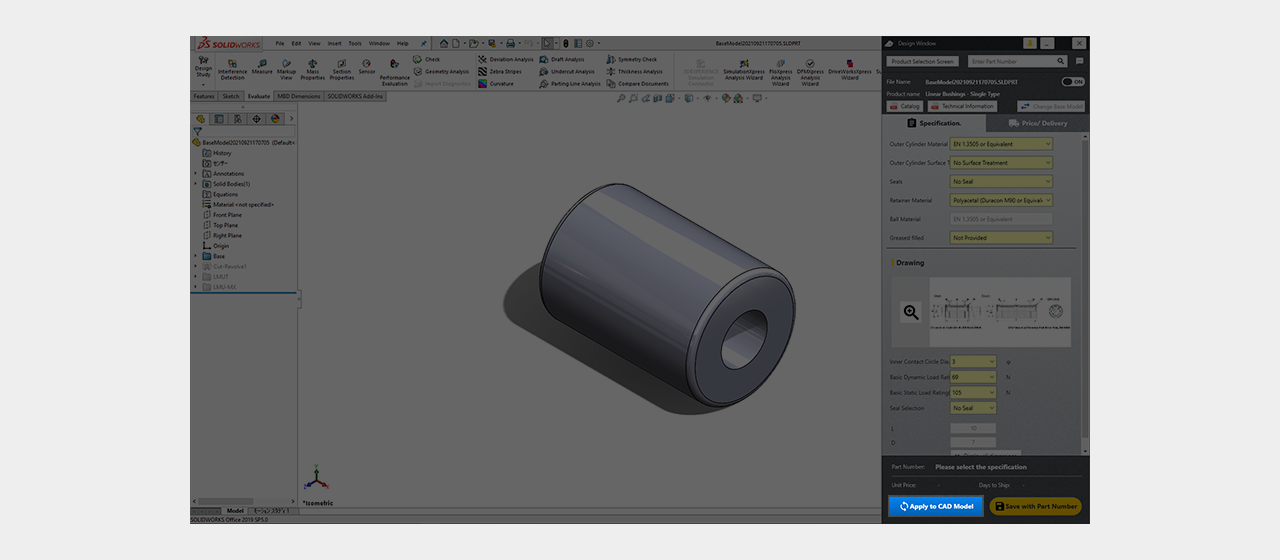
Click "Update" to Update your changes
Click
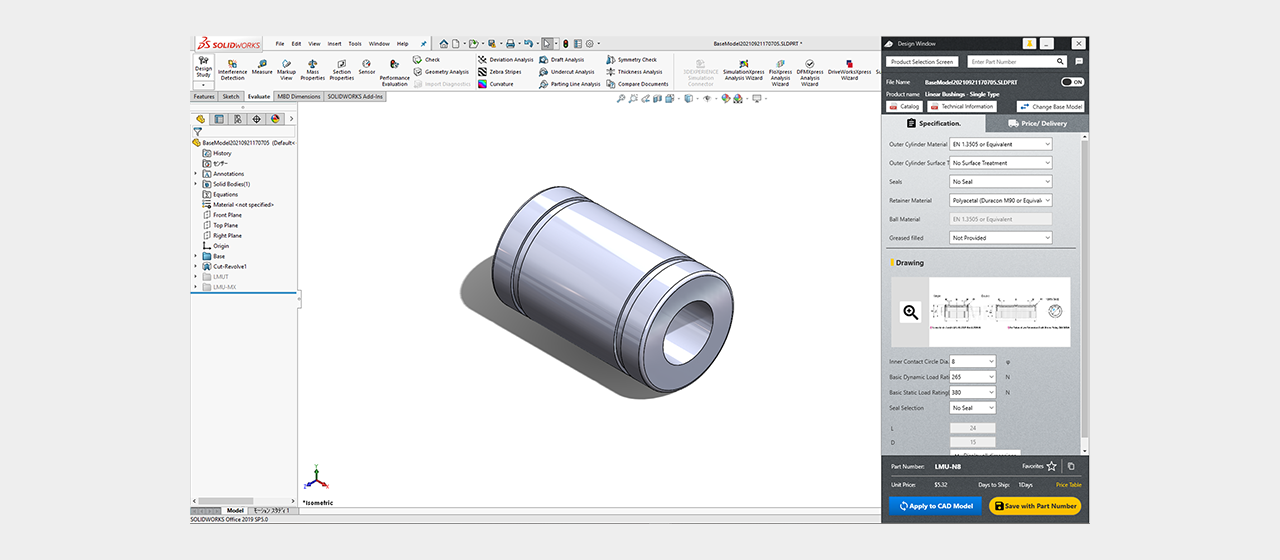
[Point] The selected spec will be updated on the model
Click
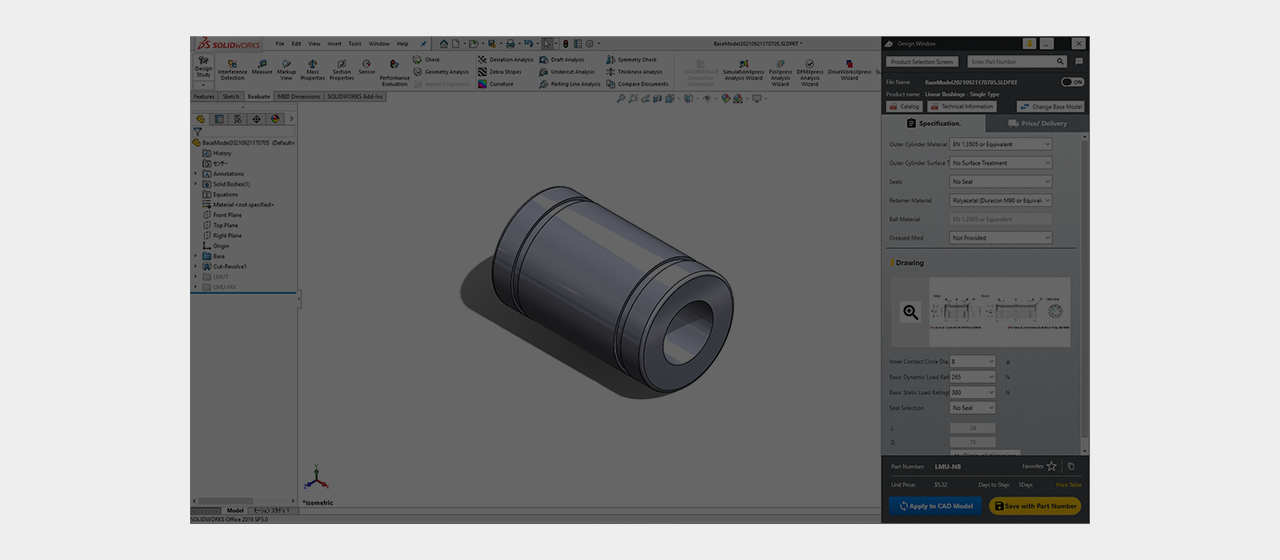
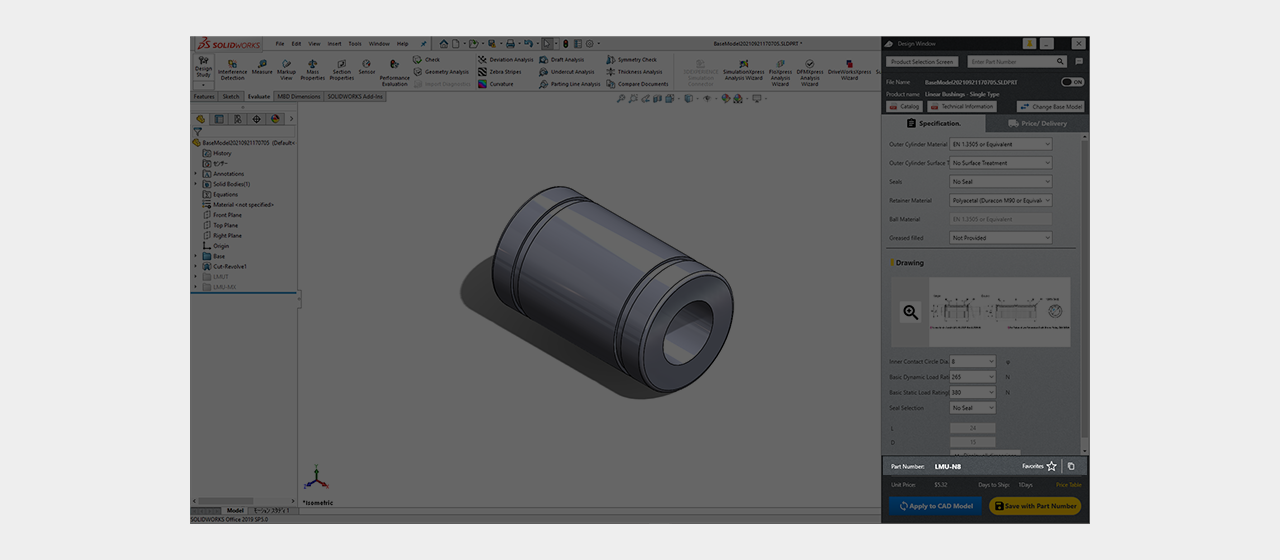
[Point] The part number for the model will update to your new specs


Click
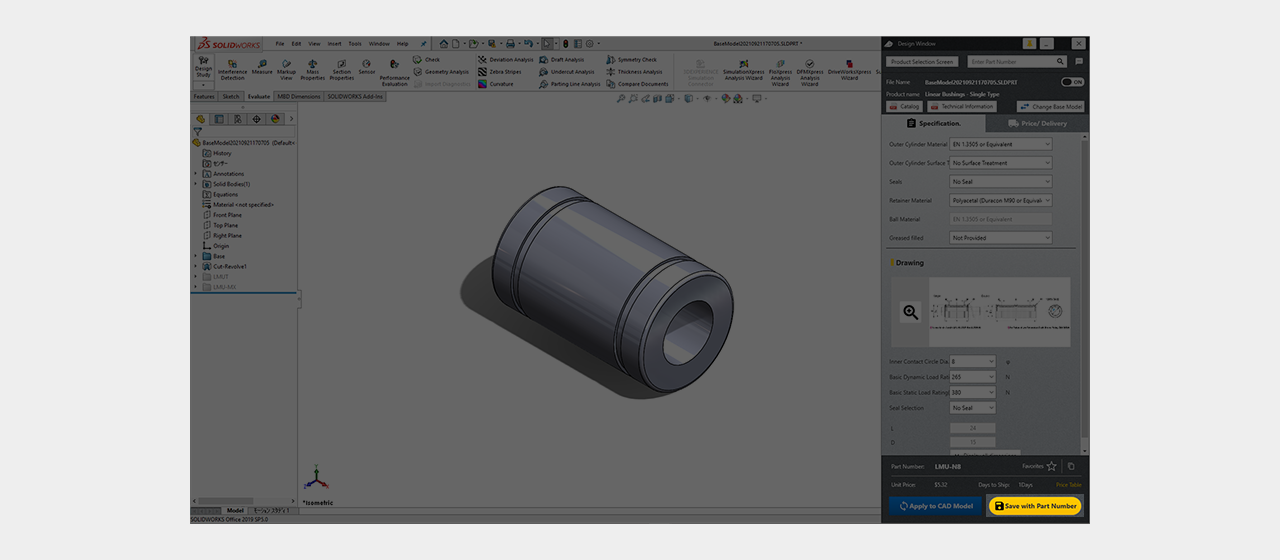
Finally, click "Save with Part Number" to save the model (you can also save via SOLIDWORKS)

Click
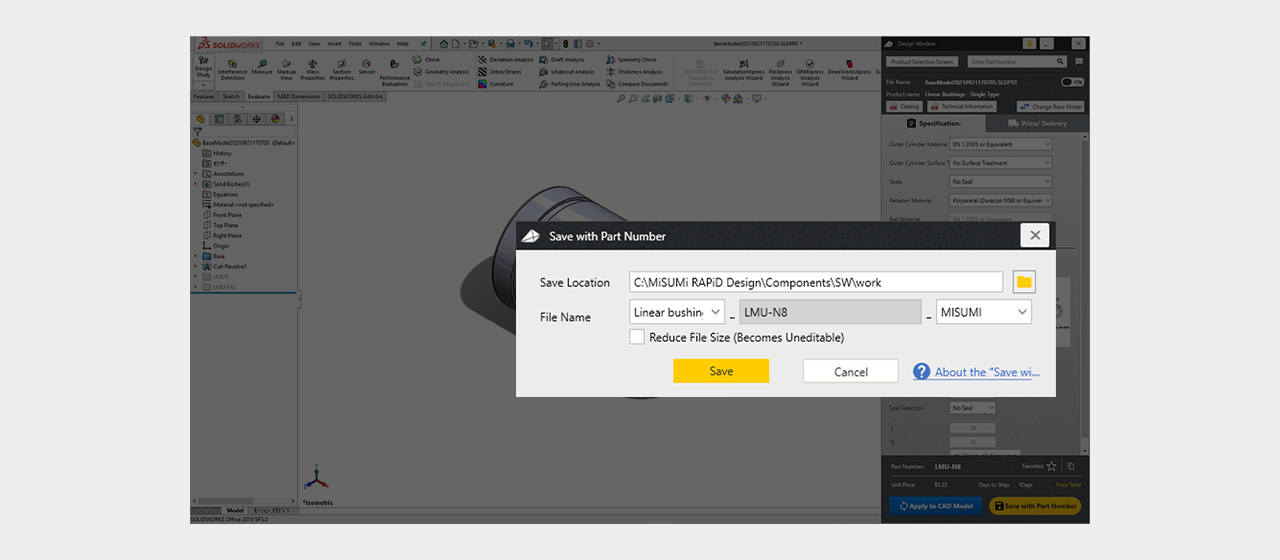
Click "Save"
Click
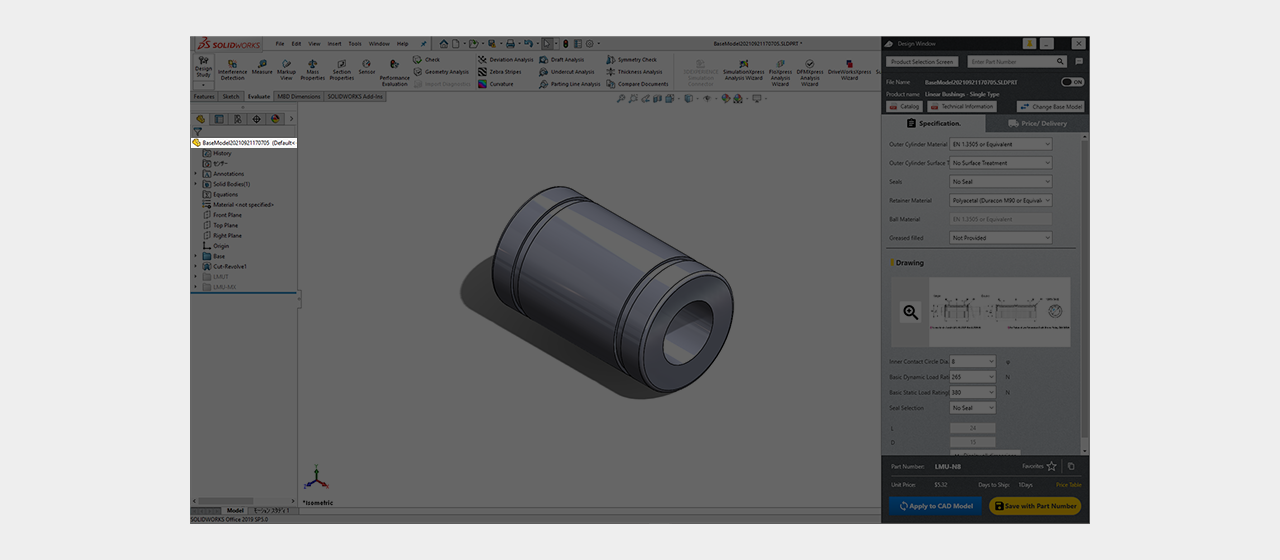
The File is now Saved

Click
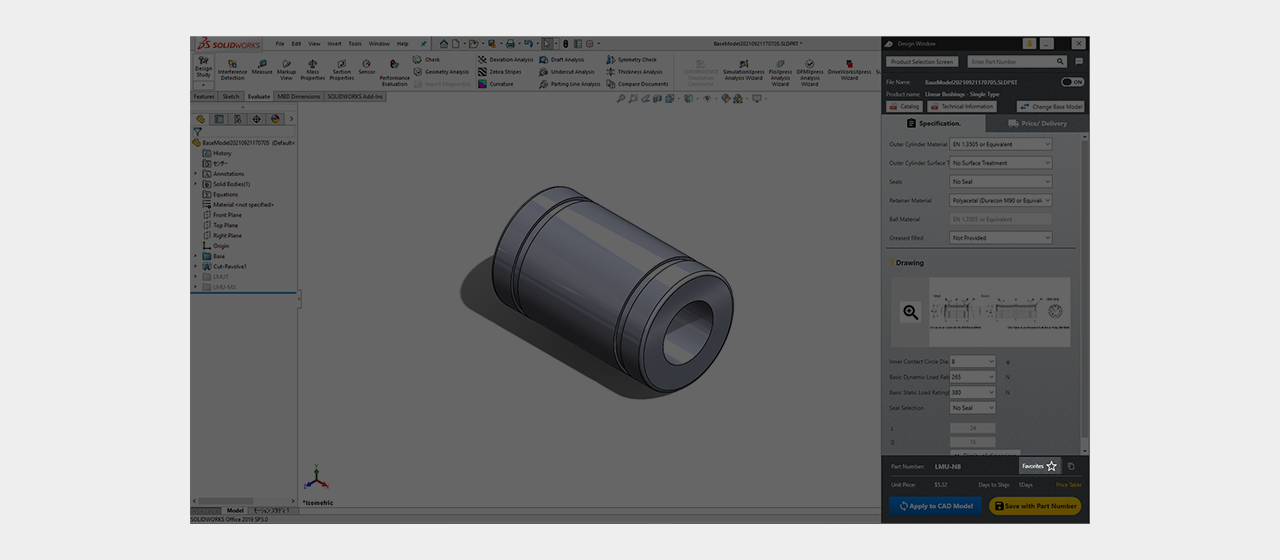
You can add part numbers to a favorites list

Click
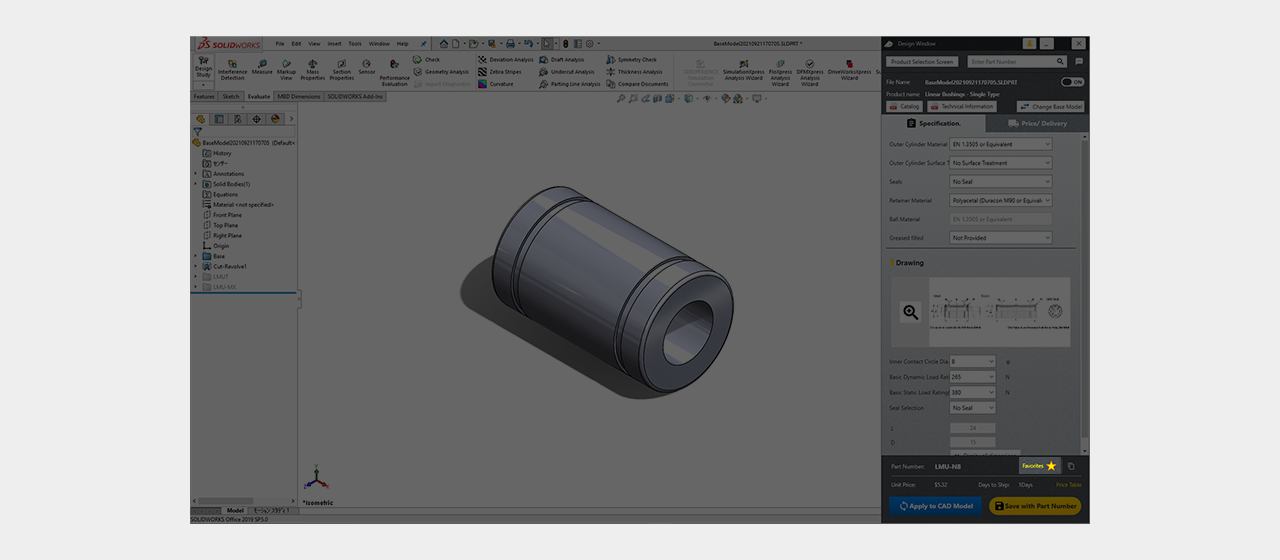
You can add part numbers to a favorites list

Click
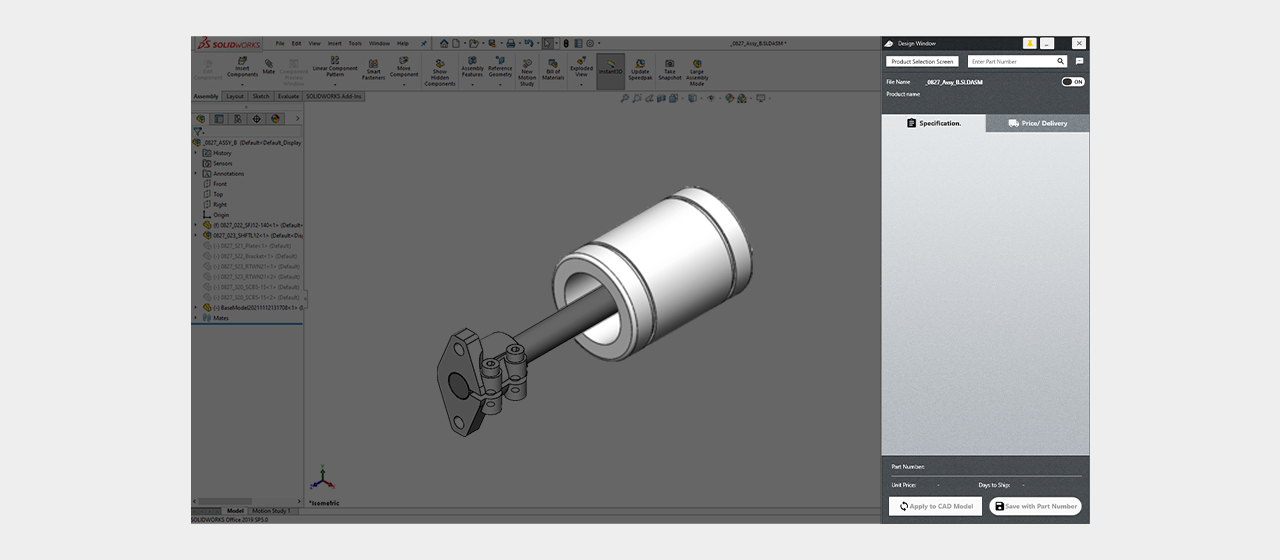
[Point] If you want to change a model, you can configure it with the design window
Click
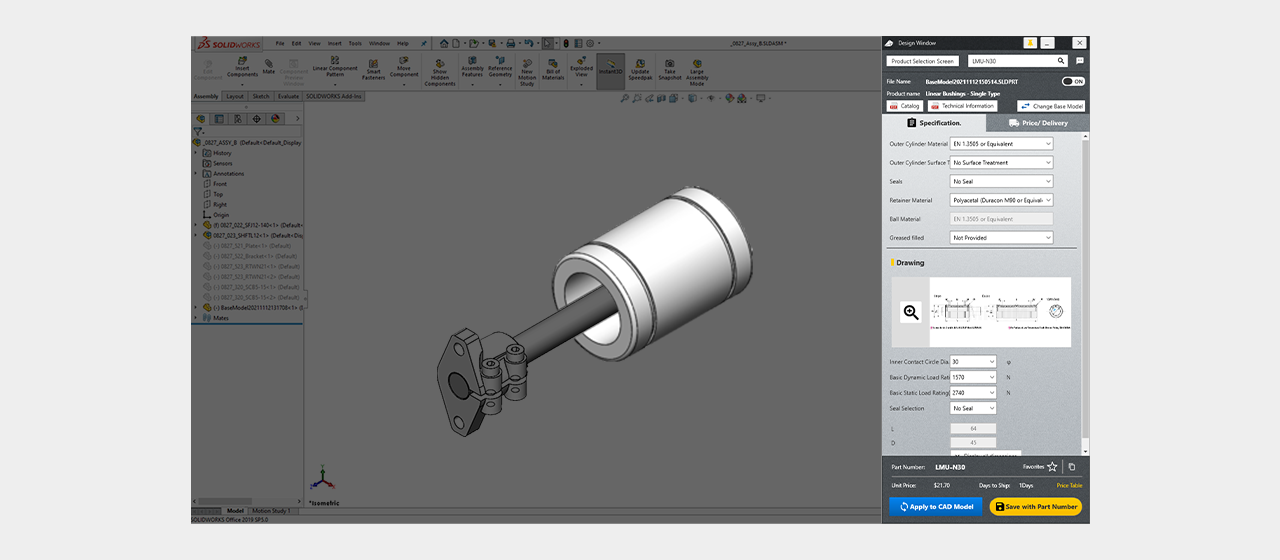
[Point] If you want to change a model, you can configure it with the design window
Click
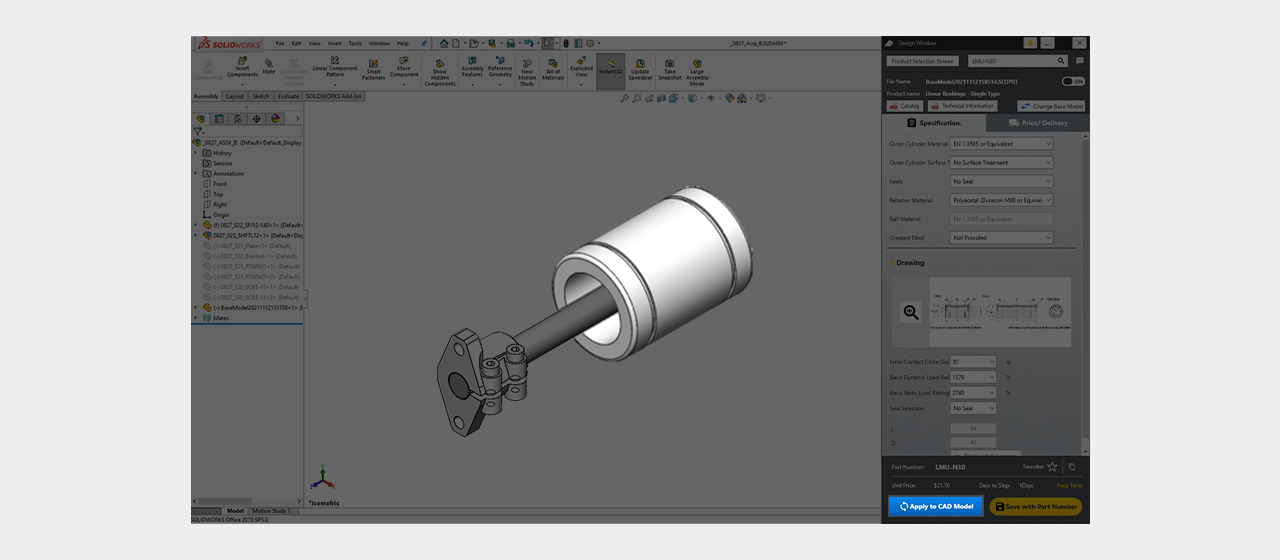
[Point] If you want to change a model, you can configure it with the design window
Click
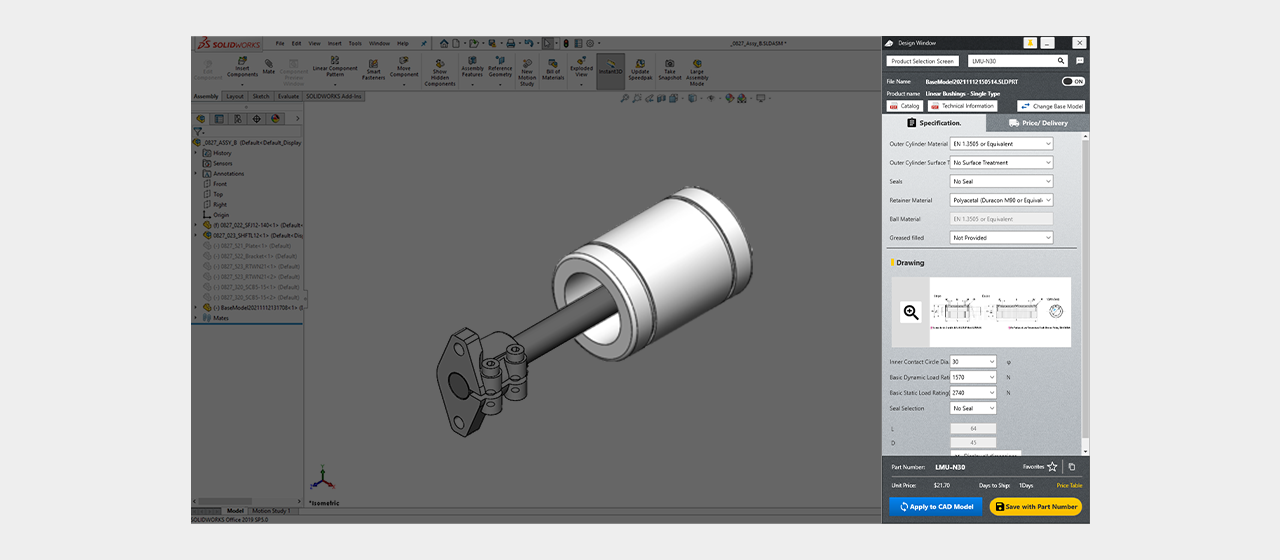
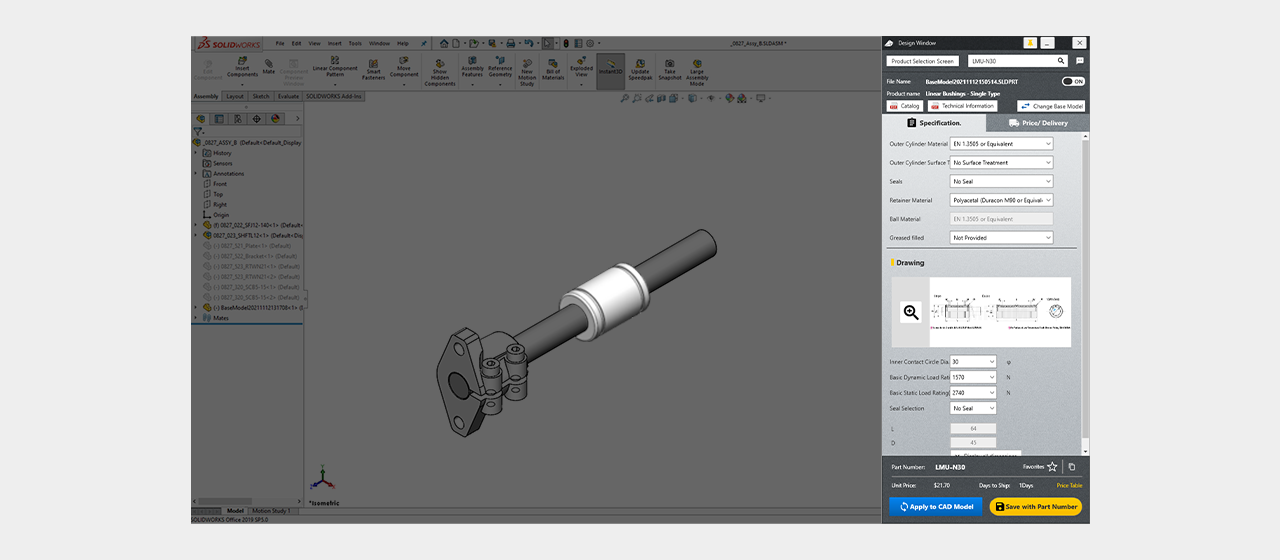
[Point] If you want to change a model, you can configure it with the design window
Click
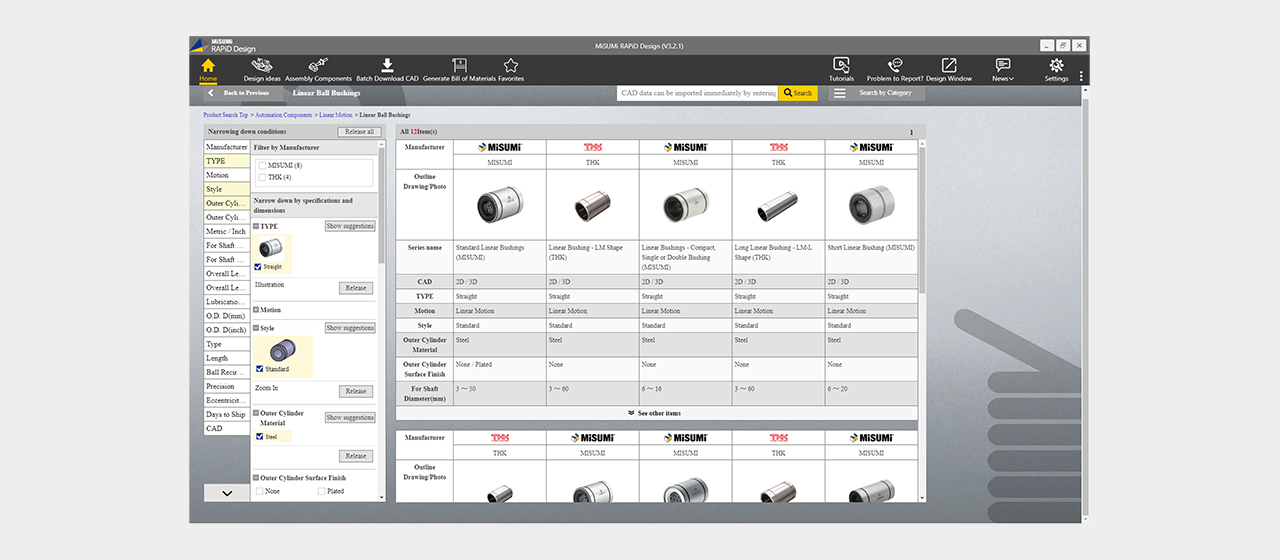
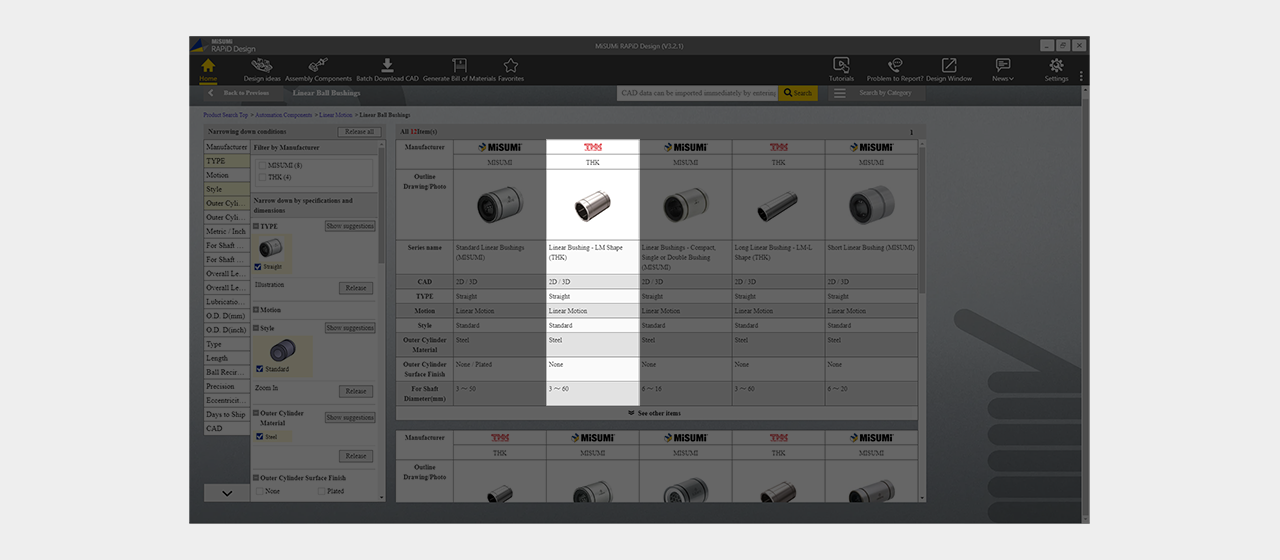
First, select a product manufactured outside of MISUMI
Click
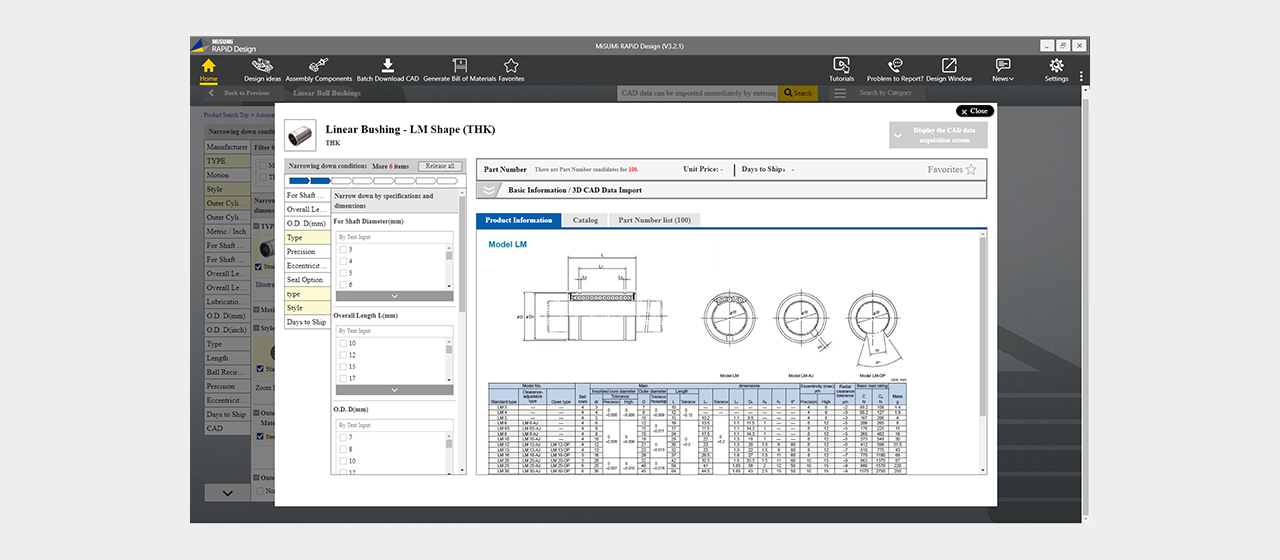
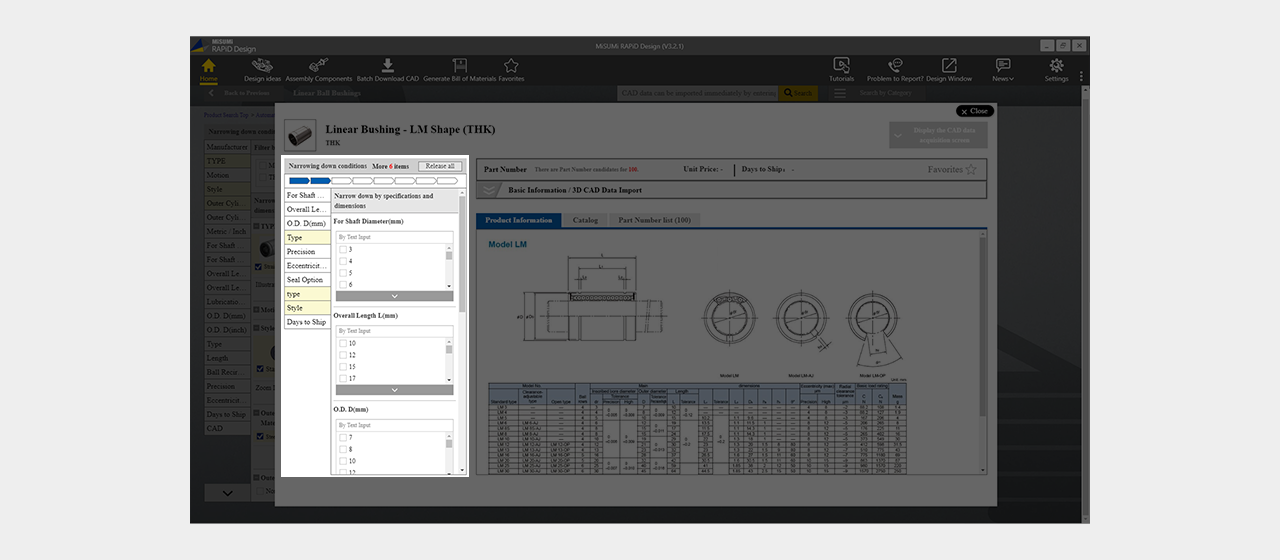
For products manufactured outside of MISUMI, select the desired filters and select your model
Click
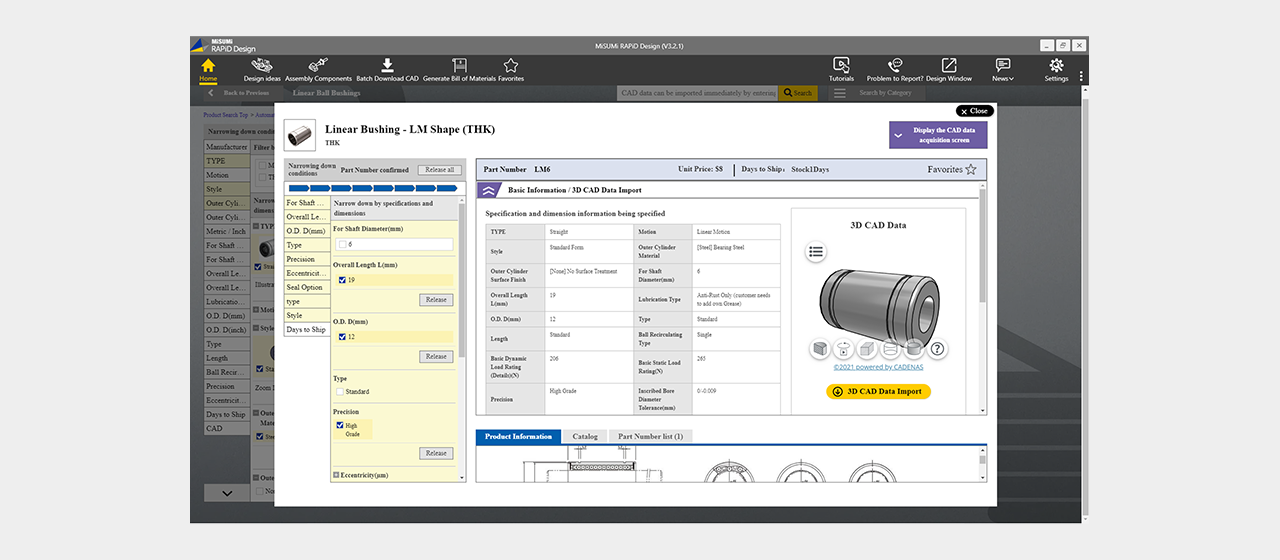
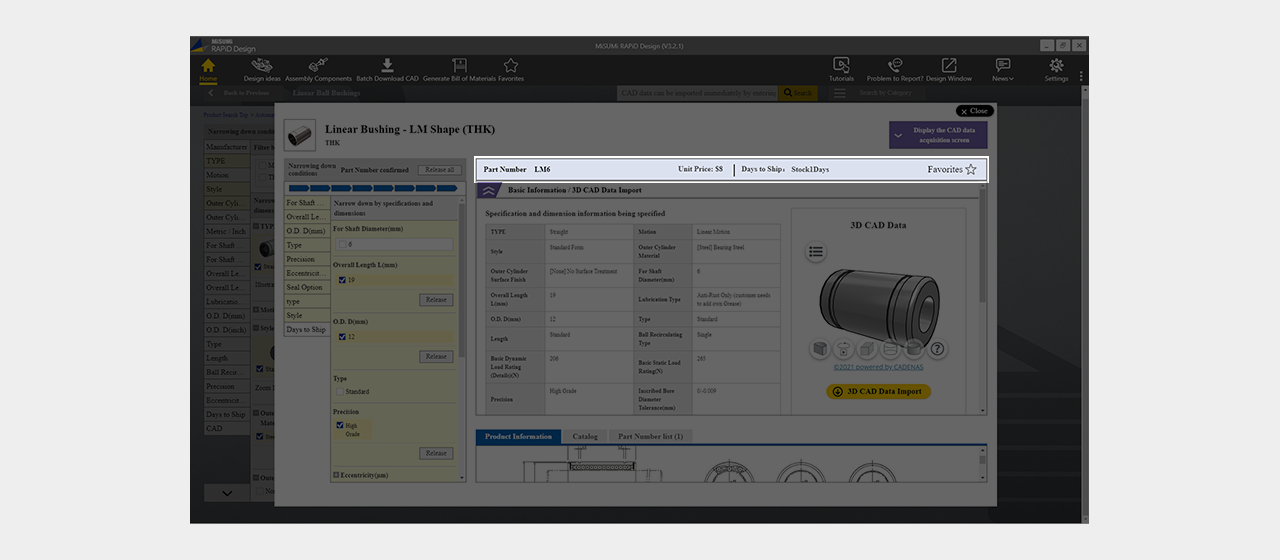
For products manufactured outside of MISUMI, select the desired filters and select your model
Click
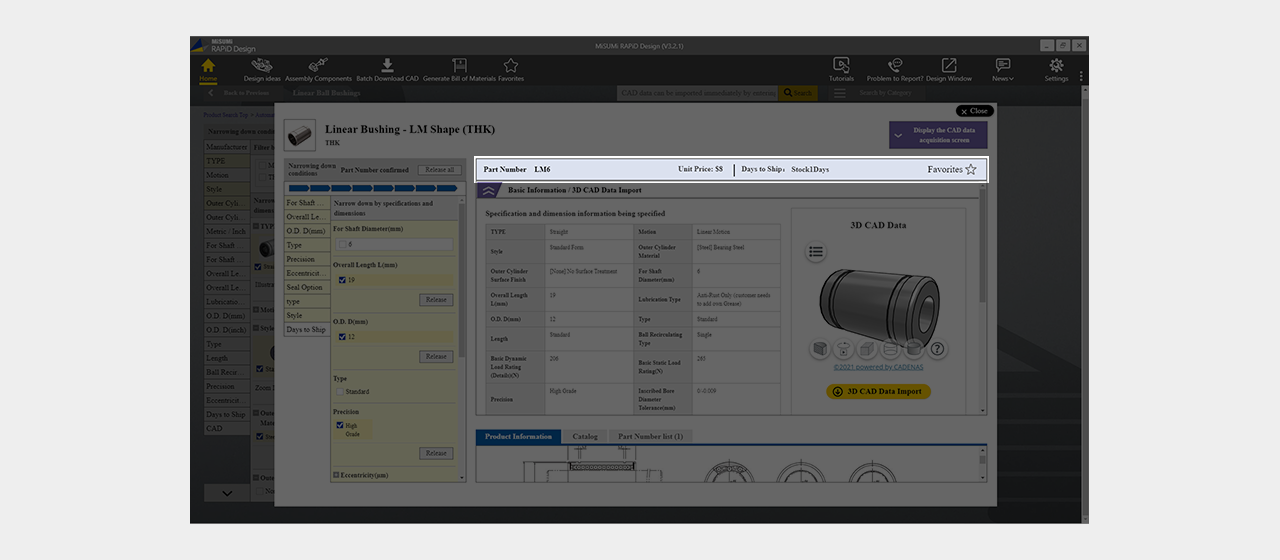
You can also add Non-MISUMI Parts to you Favorites

Click
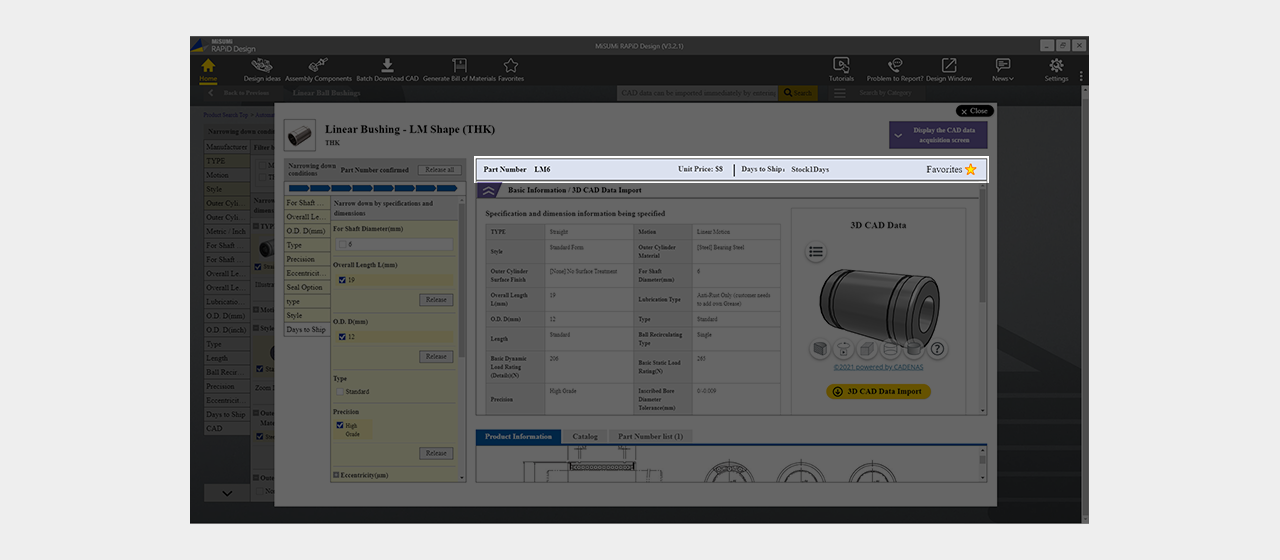
You can also add Non-MISUMI Parts to you Favorites

Click
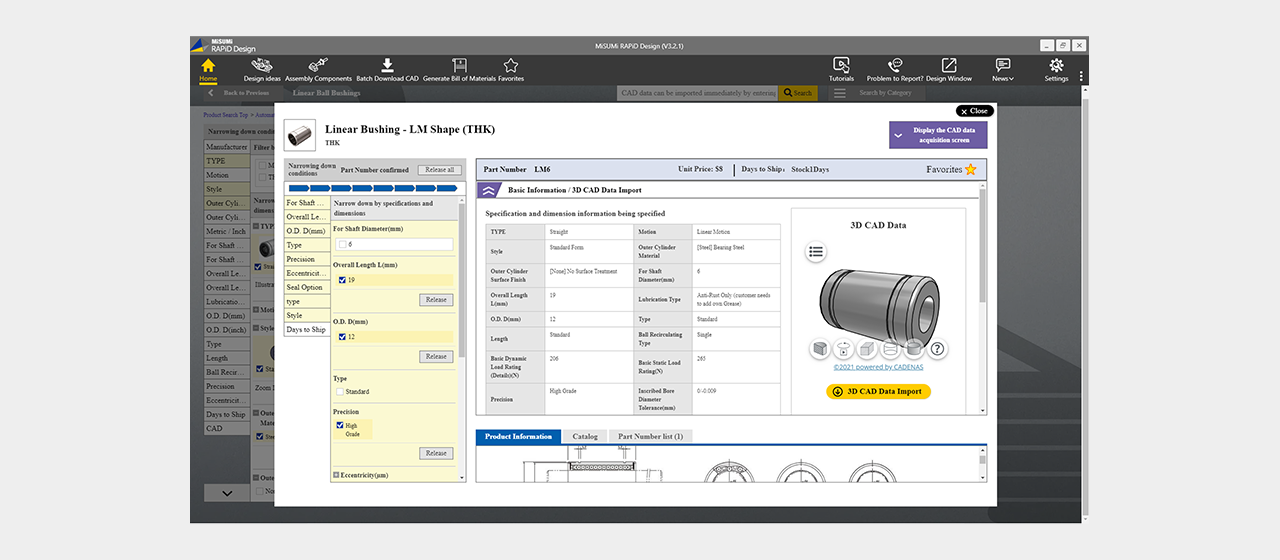
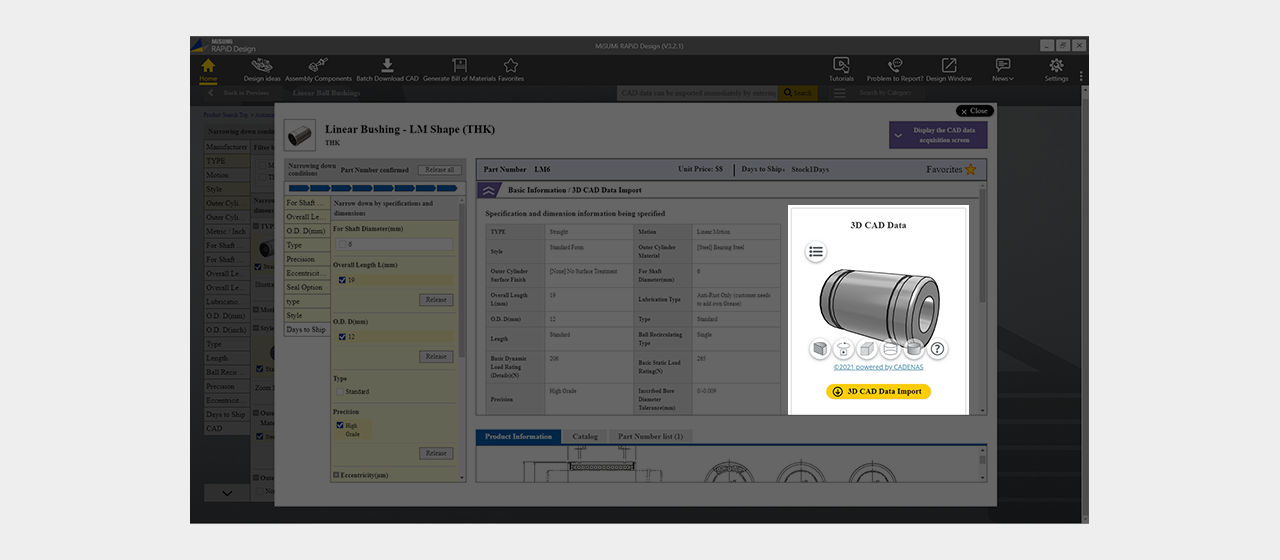
Click "3D CAD Data Import"
Click
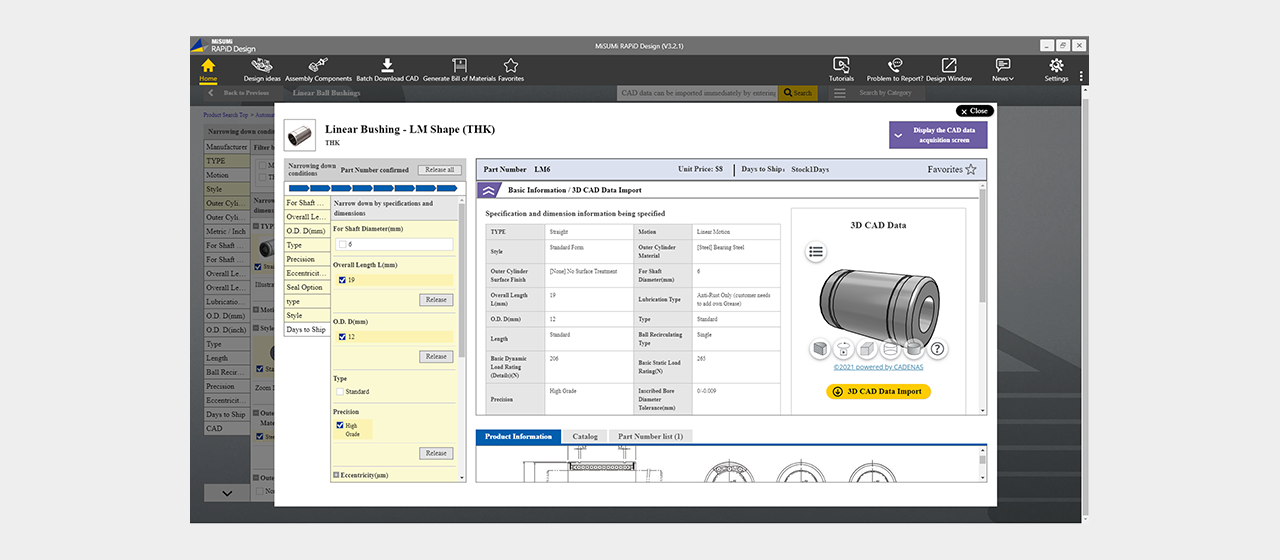
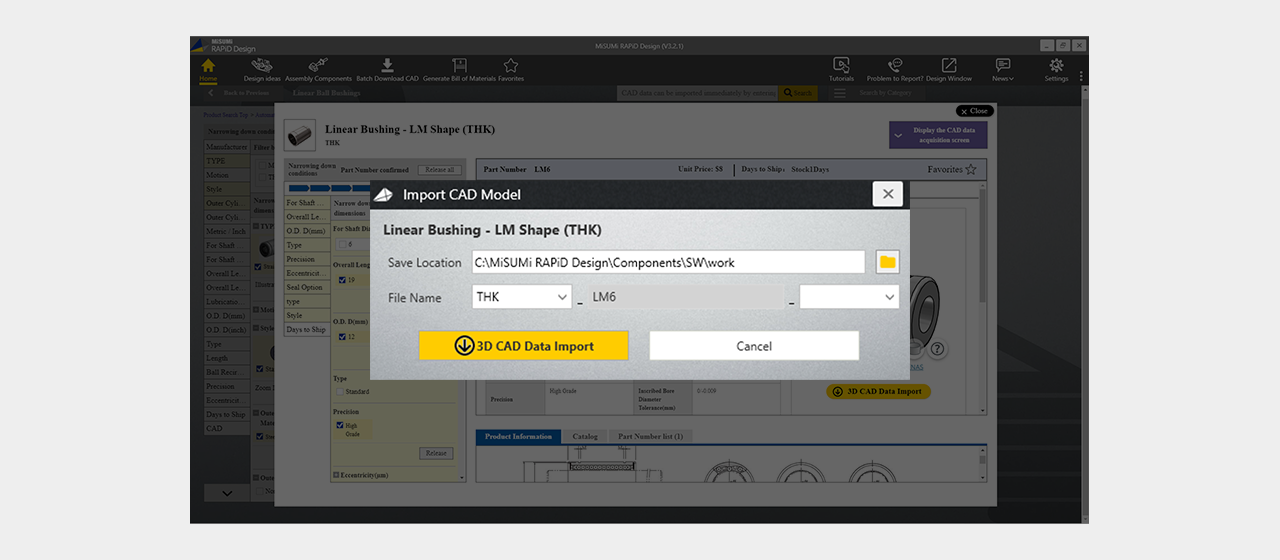
Click "Import 3D CAD Data" after selecting a save file location
Click
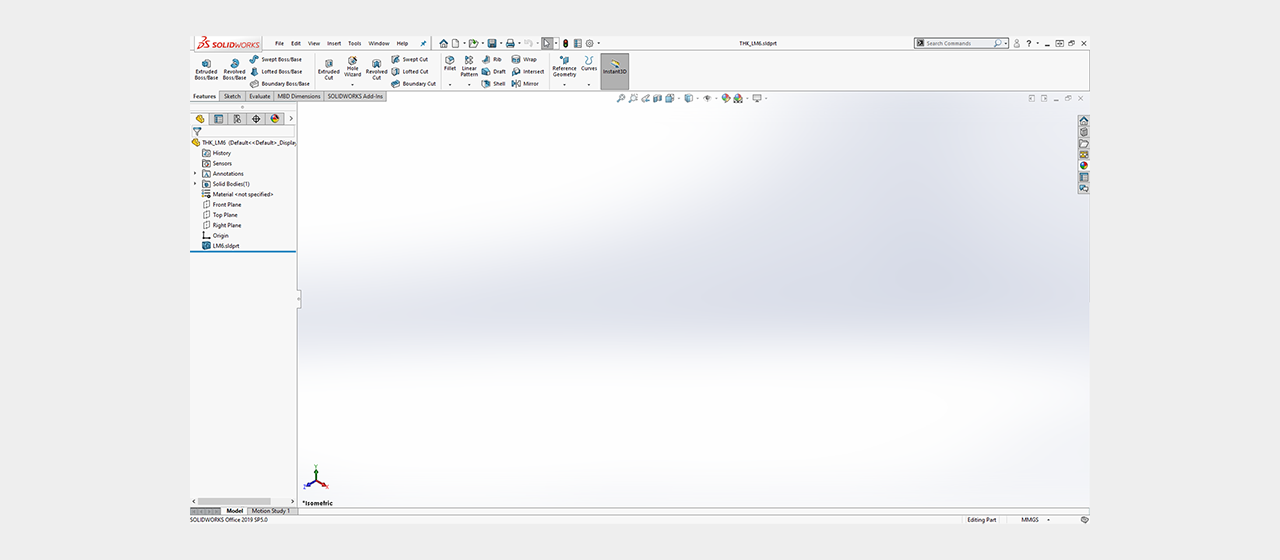
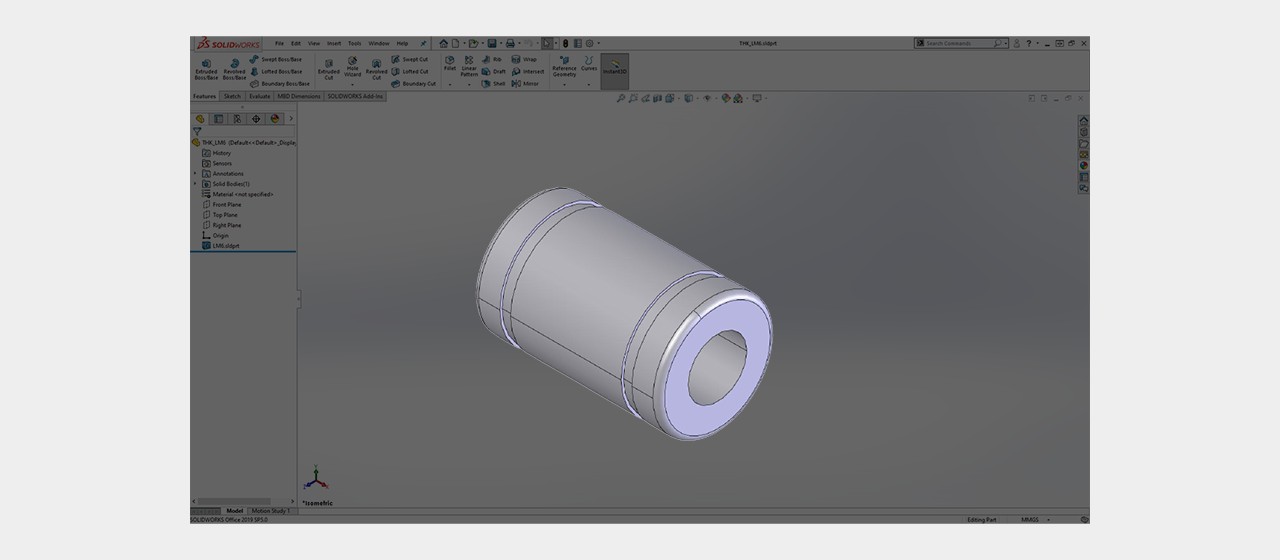
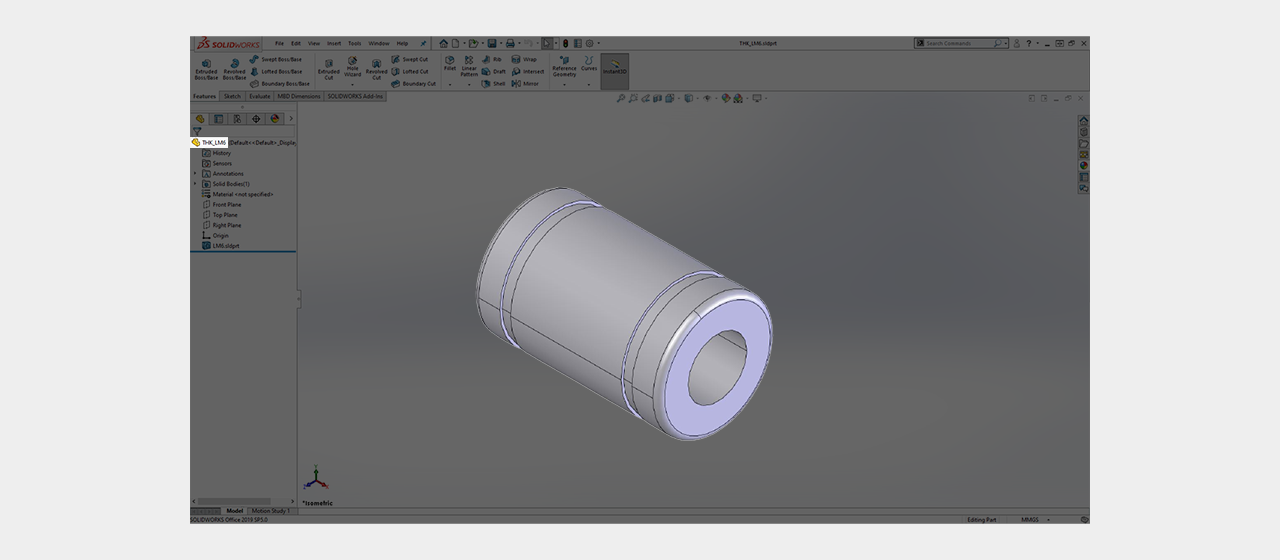
Importing and Saving Files has completed

Click
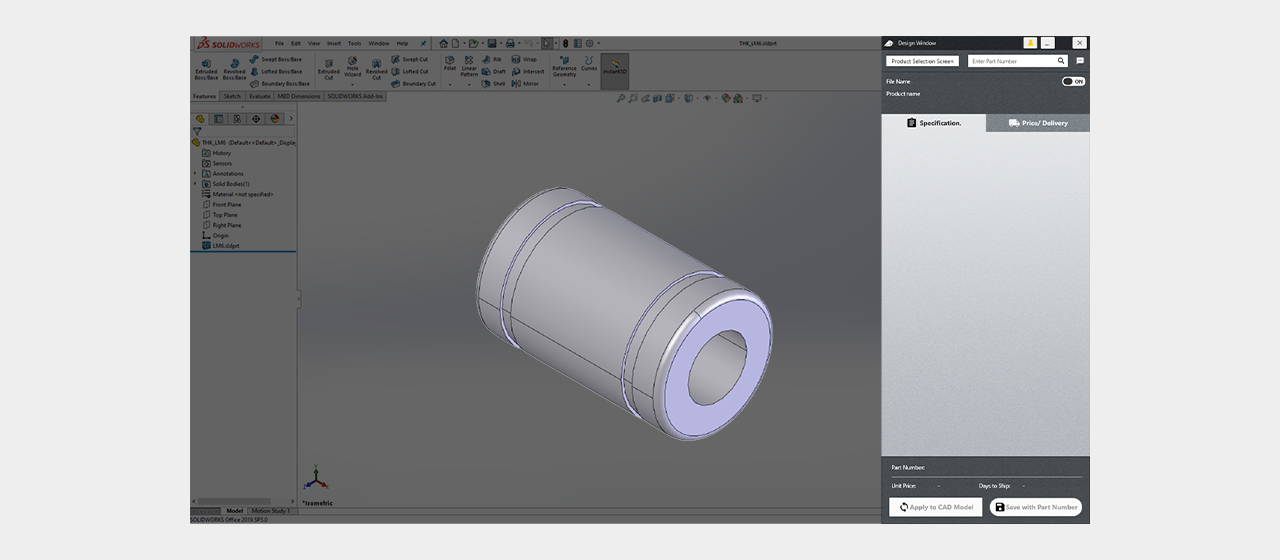
To change the design, click the model

Click
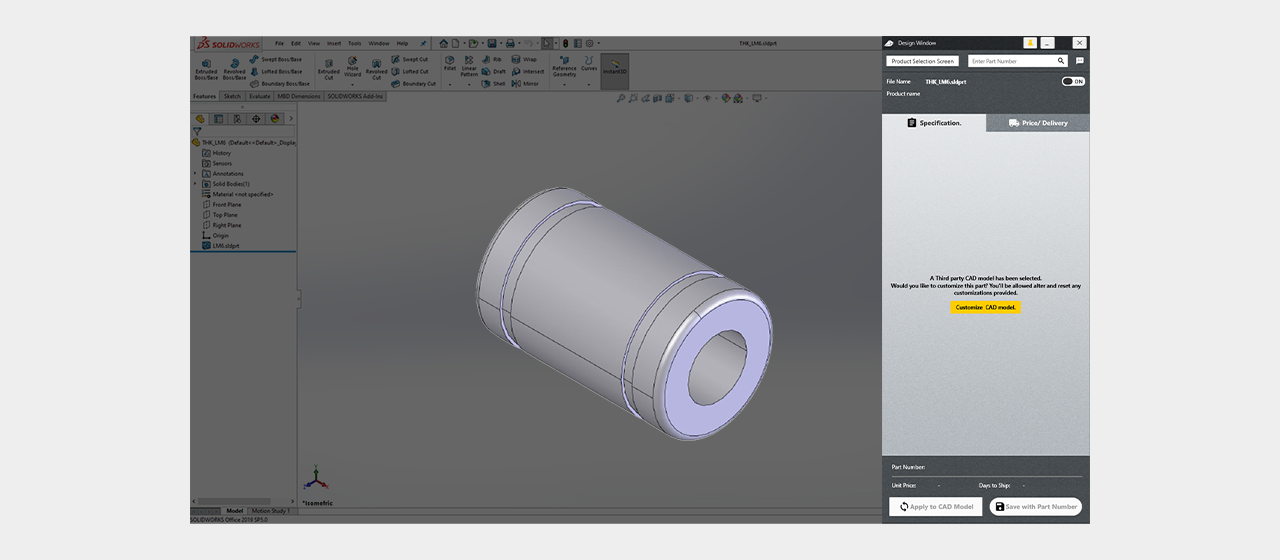
To change the design, click the model
Click
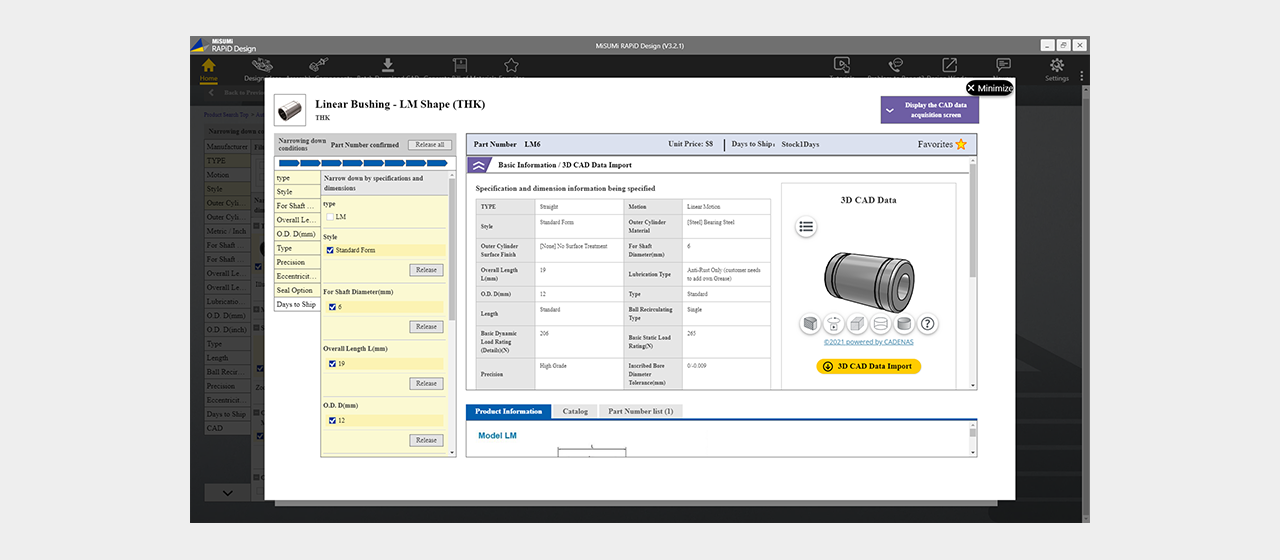
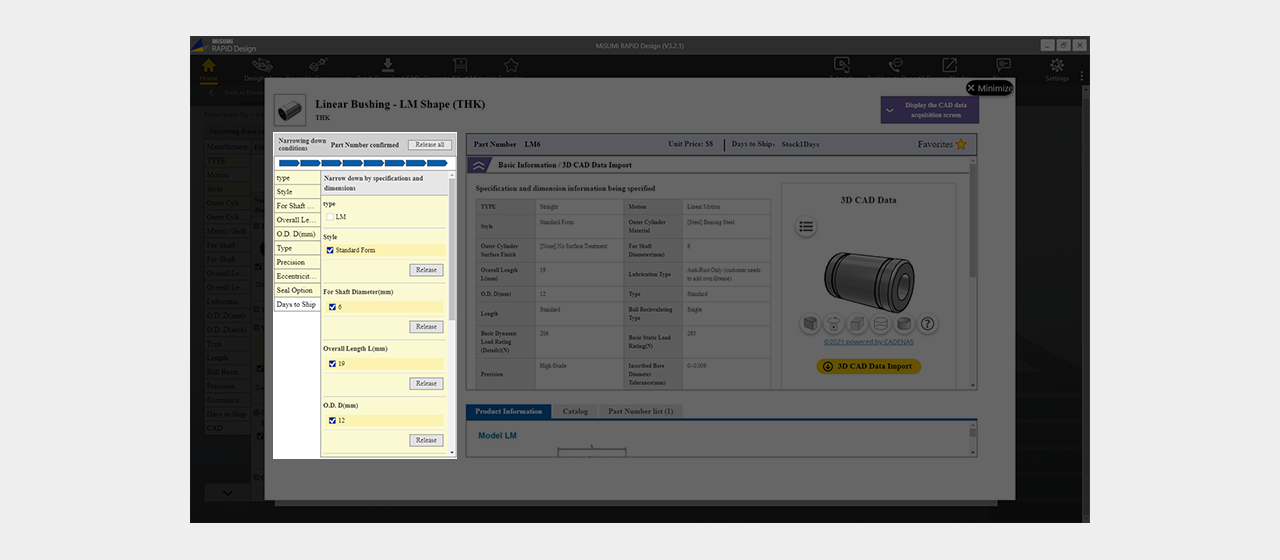
Change the specifications and click Import
Click
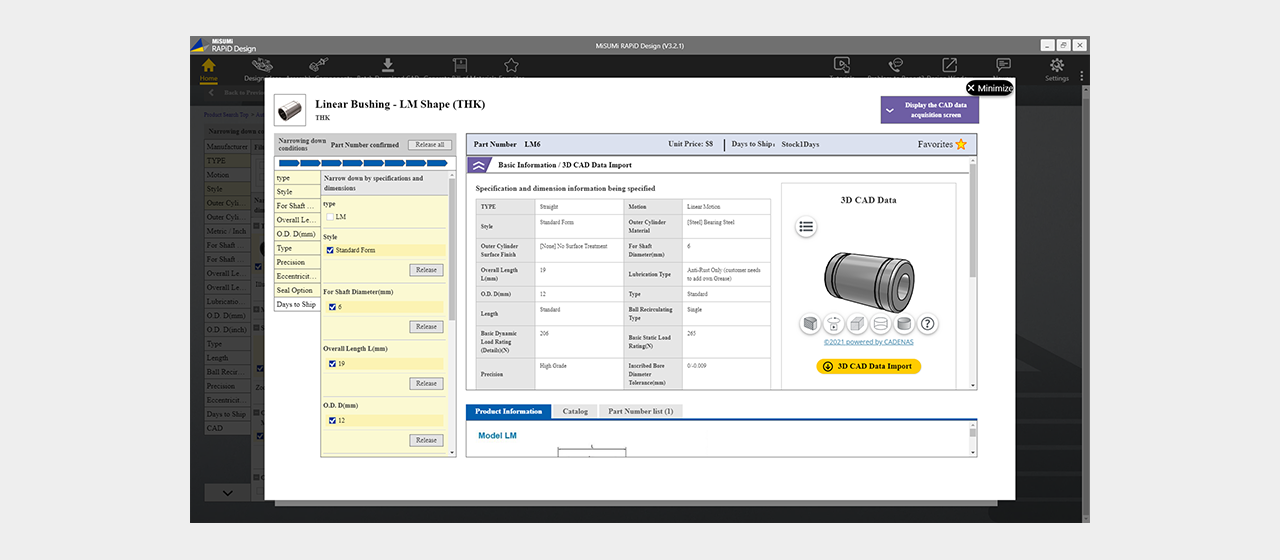
Change the specifications and click Import
Click
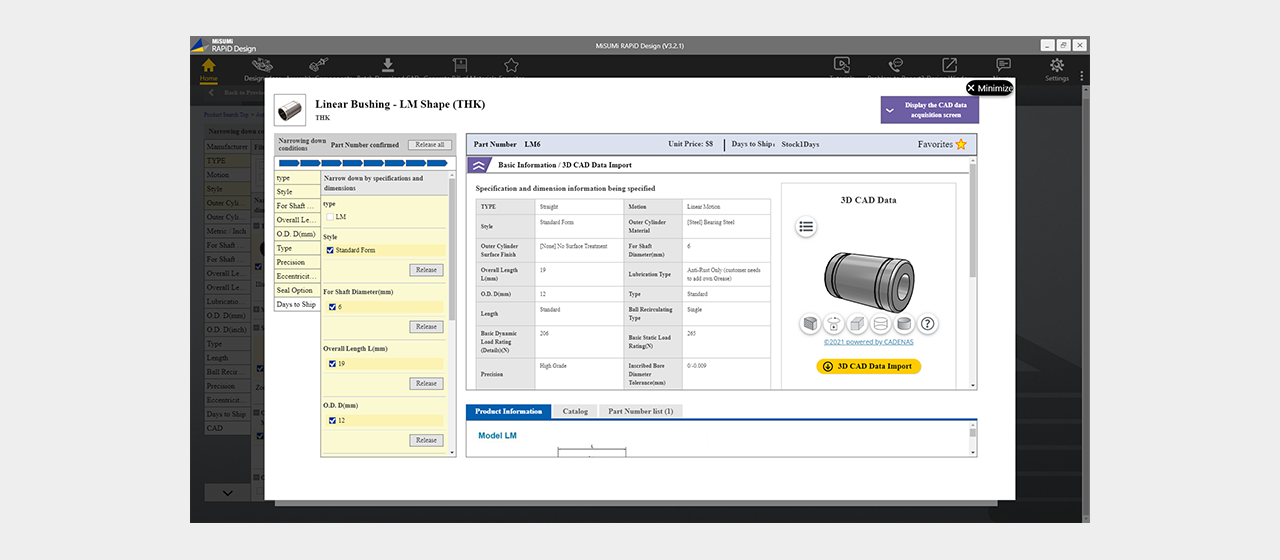
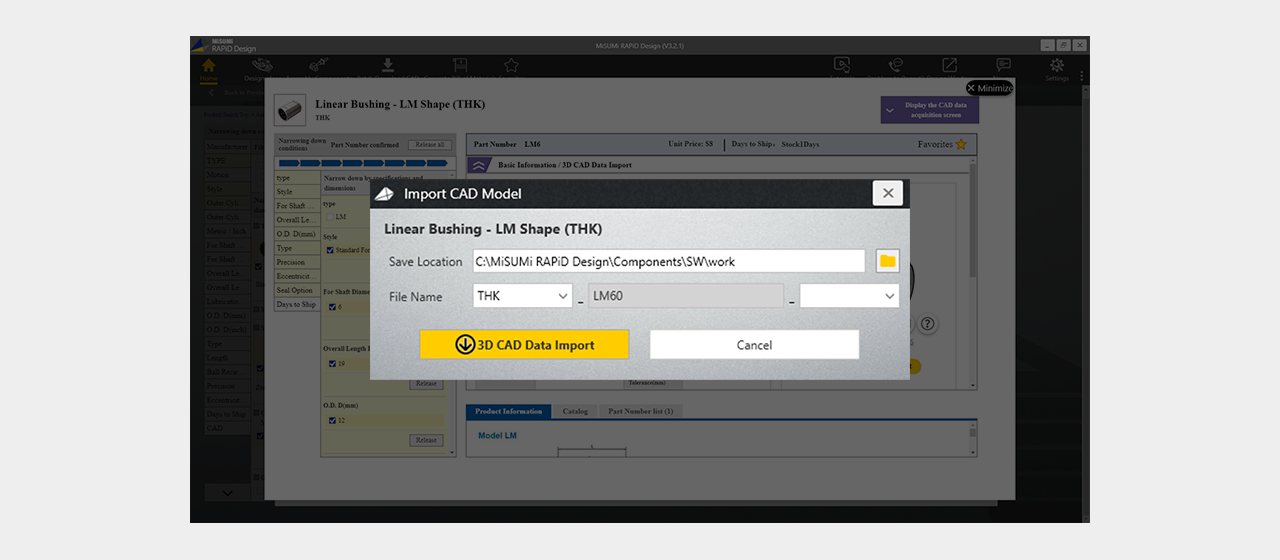
Change the specifications and click Import
Click
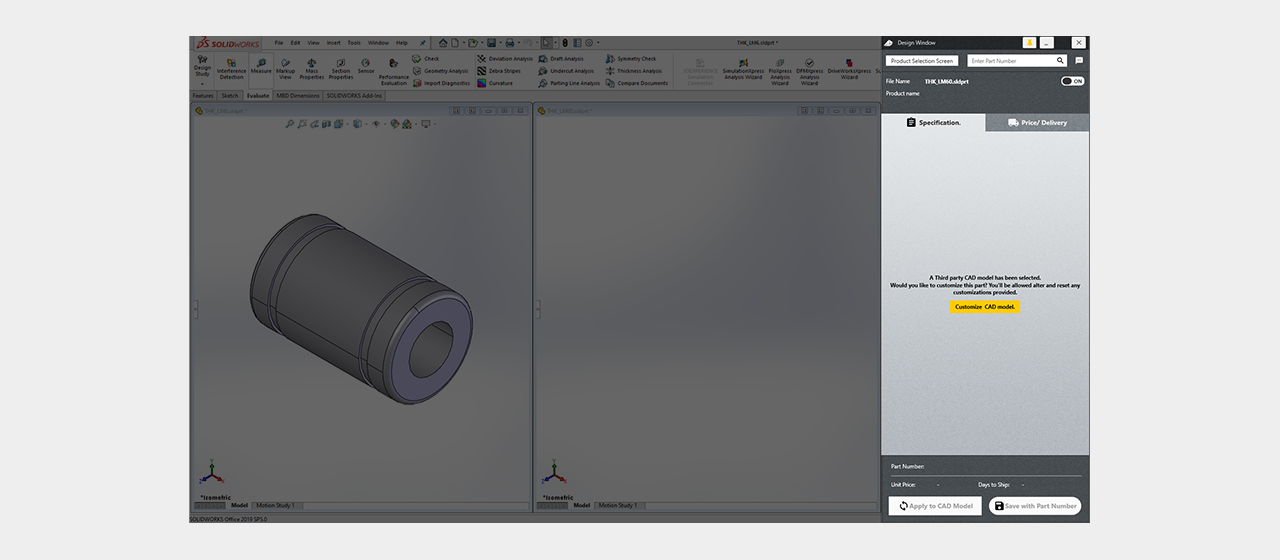
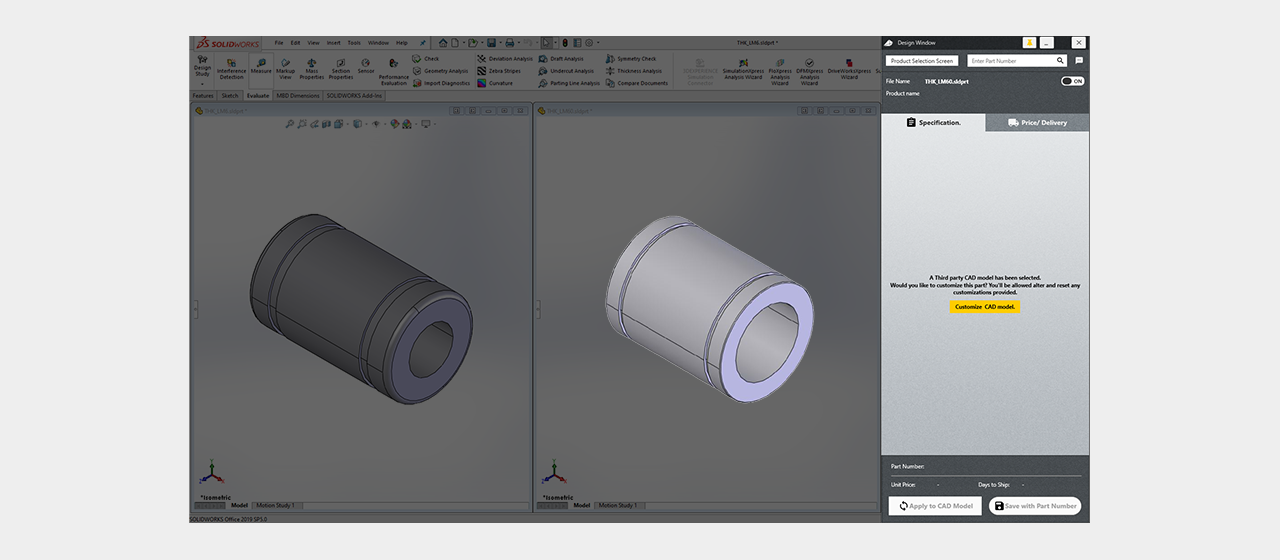
A new model will be imported

Click

That concludes the Tutorial using the Standard Mechanical Parts Library