


Author: Scott Bredemann
Updated: 5/1/2025 | Read Time: 7mins
A helical insert, often called a helicoil, is one of the most common ways to restore the original thread size. Instead of drilling the hole larger for a bigger fastener, the damaged threads are removed, the hole is tapped to accept the insert, and the coil provides a new internal thread for the original bolt or screw. The tips below help to walk through the process from inspection to final assembly.
Browse Tools for Threaded Inserts#1 Confirm the Thread Is Actually Stripped
A bolt that will not tighten can also be caused by a damaged fastener, dirt in the hole, corrosion, the wrong thread pitch, or a bolt that is too short to reach usable threads. Start by removing the fastener and checking both parts. Look for flattened, torn, or missing threads inside the hole. Then inspect the bolt for rounded thread peaks, cross-threading marks, or metal buildup. It also helps to try a clean, correct-size fastener by hand.
#2 Identify the Original Thread Size and Pitch
Check the part drawing if one is available. If not, use the original bolt with a thread gauge, or measure the fastener with calipers and compare it to a thread chart. Also confirm whether the thread is metric or inch. Some sizes look close enough to fool you, but they will not assemble correctly. For stronger joints, repeated assembly, or parts exposed to vibration, a longer insert gives the fastener more thread engagement and spreads the load over a larger area.
#3 Choose the Correct Helical Insert Length
Most inserts are listed as a multiple of the fastener diameter, such as 1D, 1.5D, or 2D. For example, a 2D insert for an M6 thread is about 12 mm long. Use the shortest insert only when the repair is light-duty and the part has limited depth. The insert should sit fully below the surface and leave enough room for the fastener to tighten without bottoming out, especially in blind holes. Before choosing the insert, compare the insert length with the part thickness, hole depth, and bolt length so the repair restores strength without creating an assembly issue.
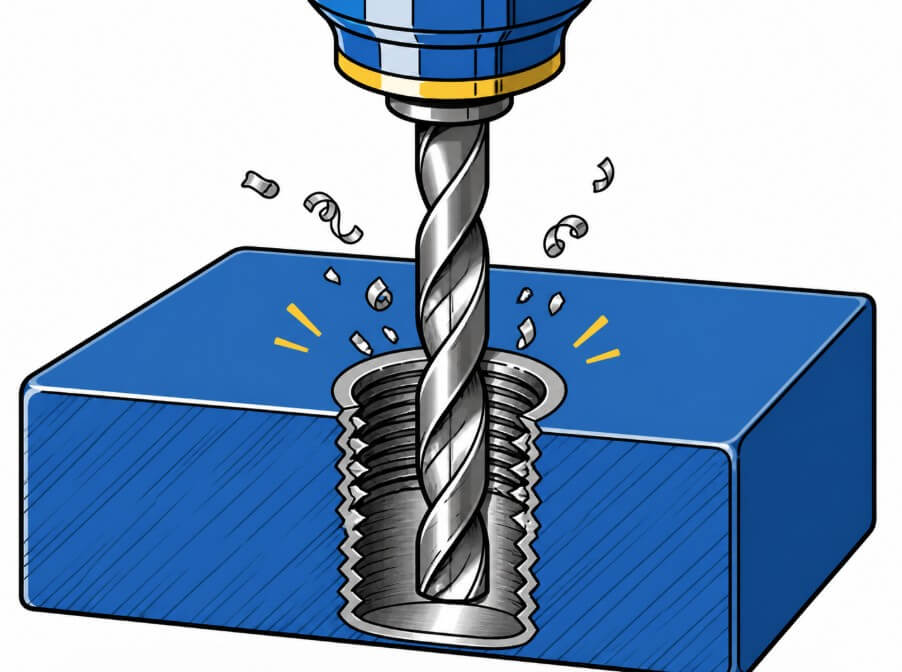
#4 Drill Out the Damaged Threads
After making sure you have the correct insert kit, drill the damaged hole to the size specified by the kit. This removes the stripped thread material and prepares the hole for the special insert tap. Keep the drill aligned with the original hole as closely as possible. A crooked hole can cause the insert to sit at an angle, which may make the fastener bind or clamp unevenly. Use steady pressure, clear chips as needed, and avoid forcing the drill through the part.
#5 Tap the Hole for the Insert
Start the tap straight and keep it aligned with the drilled hole. Use cutting fluid when needed, turn the tap gradually, and back it out often enough to clear chips. This helps prevent rough threads, binding, or a tap breaking in the part. For blind holes, watch the depth carefully and avoid forcing the tap at the bottom.
#6 Install the Helical Coil Insert
Use the installation tool to wind the helical insert into the new threads. It should turn in smoothly without heavy force. If the insert starts to bind, backs up, or sits unevenly, remove it and check for chips, damaged tap threads, or misalignment before trying again. Install the coil so the top sits slightly below the surface of the part.
#7 Test the Repair Before Final Assembly
Before putting the part back into service, test the repaired thread with a clean fastener of the correct size. Start it by hand first. It should engage smoothly without wobbling, binding, or needing extra force to turn. This final check helps catch installation issues before the part is loaded, assembled, or returned to use.
Browse Threaded InsertsParting Thoughts
MISUMI USA carries a wide range of Inserts, including – threaded inserts, tangless inserts, insert tools, and more. If you have any questions about fastening concerns for your next project or fix, please feel free to contact our product experts, and engineers. For more insights about thread inserts/helicals, and other manufacturing related articles be sure to check out our blog, and articles like – What is a Helicoil?, Helicoil vs. Threaded Insert, 6 Quick Facts About Helical Coils, and more.
